- Utility
- Multimedia
- Freeware
- Support
- Download Center
- Shop
Following is a complete guide to teaching you how to repair corrupted videos with TunesKit Video Repair. Before we get started, please make sure you've downloaded and installed the appropriate, latest version of the program on your computer.
TunesKit released Video Repair for users to professionally and readily deal with video file glitches or severe problems. Don't worry about the format or size of your video that is going to be repaired, as it is format-friendly.
Step 1: Launch and Register TunesKit Video Repair
After you finished the installation, please launch the TunesKit Video Repair on your PC or Mac.

Then click the Menu icon on the top right corner and select the "Register" option to register it. A new popup dialog will come, where you can copy and paste your licensed email and registration code. Enter both of them into the right place and click the "Register" button to confirm the action.
Note: The registration info is case sensitive. Please do not leave any blank at the beginning or the end of your registration email and code.
Step 2: Add Corrupted Videos to TunesKit

Now tap on the "Add" button at the bottom left corner to import the video files that you want to repair from your computer. Alternatively, you can simply drag all your target media files and drop them to the main interface of TunesKit.
Note: TunesKit Repair for Video supports batch repair, so you can add one or more files to be repaired at a time.
Step 3: Customize Multi-task Settings (Optional)

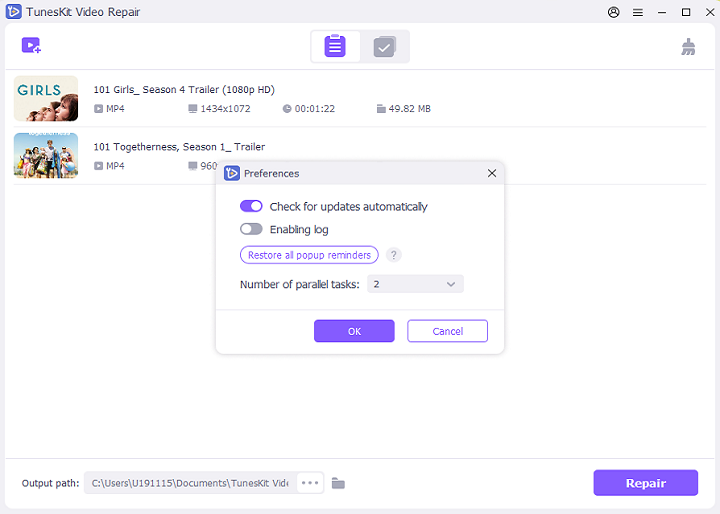
By default, TunesKit Video Repair software is designed to repair your corrupted videos one by one. But, if you want to fix them fast, you can adjust the multi-task settings. Just go to the Menu icon on the top > Preferences > Advanced to change the "Number of parallel tasks". You're empowered to set it up to 3, which means TunesKit will fix 3 damaged files at the same time.
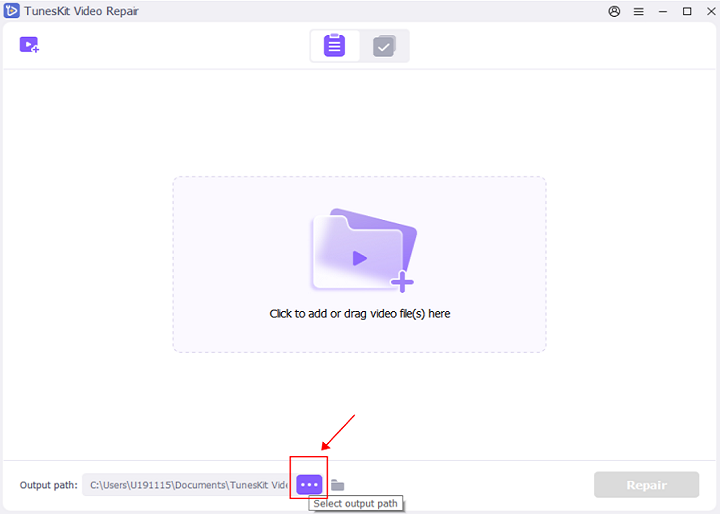
Also, on this interface, you can change the output path according to your needs. After that, just click the "OK" button to close the window.
Step 4: Start to Repair the Videos

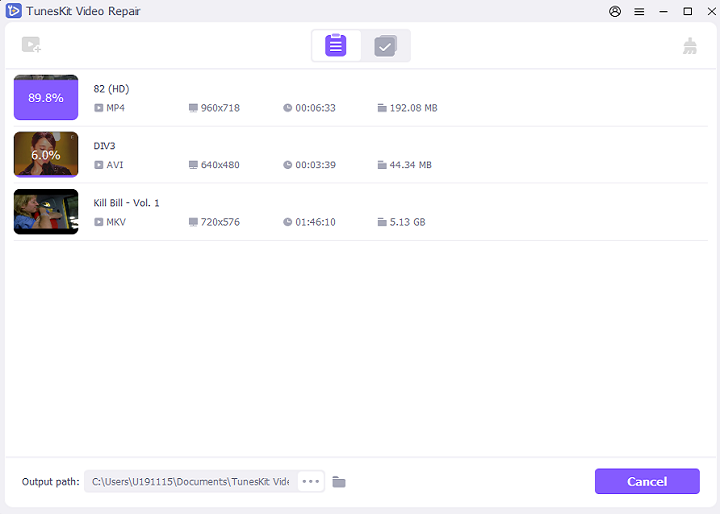
Now click the blue "Repair" button at the bottom right corner and TunesKit will start to repair all the corrupted, broken, or unplayable video files quickly. Wait for the process to end.
Step 5: Preview and Save Repaired Videos

When all the videos are repaired completely, you can then click on each file to preview whether your video problem is solved now. Next, click the blue "Save" button at the bottom right corner to export the repaired files to your computer.

Here you can also change the output location to store the repaired videos. After that, hit the "Save" button again to confirm the action. Your videos will be saved successfully and you can start enjoying them now.
Note: The trial version of TunesKit Video Repair doesn't allow you to save the repaired videos. You need to buy a license in order to register it and export the videos.