How to Cut and Merge M4V Video

For those who are fans of a movie or a star, the best way to show the highlight moments of a movie is to cut and merge all the terrific scenes of the movie to create a cool video. And to do that, you can go for M4V videos because they are the easiest to get source videos. Similar to MP4, M4V is a video format but with the encryption to protect the copyright. Videos from iTunes store, including full-length movies, TV shows, and music videos, are all in M4V. There are also M4V videos with no protection and can be played on your device with no authorization needed.
To do that, a useful M4V video cutter and merger is needed. TunesKit Video Cutter can be your best buddy. It is a great video cutter, merger, and editor for beginners. Next section we will be teaching how to cut and merge M4V movies.
Key Features of TunesKit Video Cutter
- Cut and trim video and audio into parts or clips precisely
- Save and convert the videos to any format with 100% quality preserved
- Edit the video with special effects, watermark, and subtitles
- Merge video clips from the same source
How to Cut and Merge M4V Videos
Step 1Import M4V Video to TunesKit
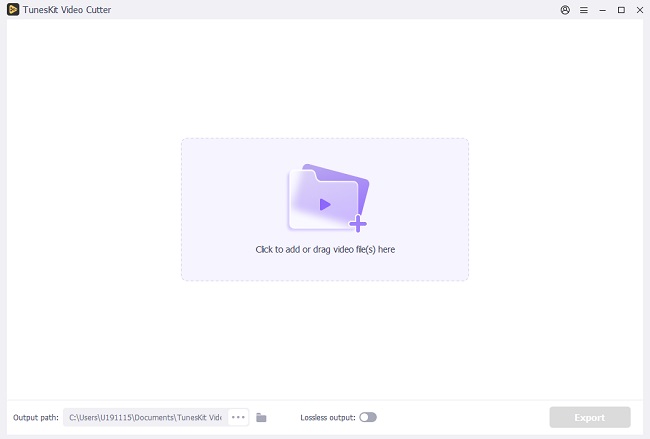
Download TunesKit Video Cutter from the above link and launch it. To add source video into the cutter, you need to click the "open" button and select the video you want to cut. Perform the drag & drop to the main interface is the same. Please remember that one video each time.
Step 2Set Cutting Sections
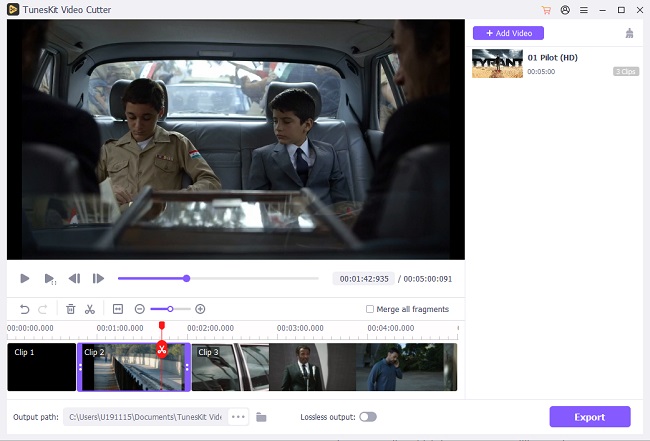
The video will play automatically in the preview window once it's successfully imported. To set the duration of the video to be cut, you can either use the slider bar or set the start and end time manually from the time board. The former method is easier to practice and while the latter one is more precise. The best way is to use them both. Click the "+" icon below the "Open" button to create more cutting segments from the same source video.
Step 3Edit the video
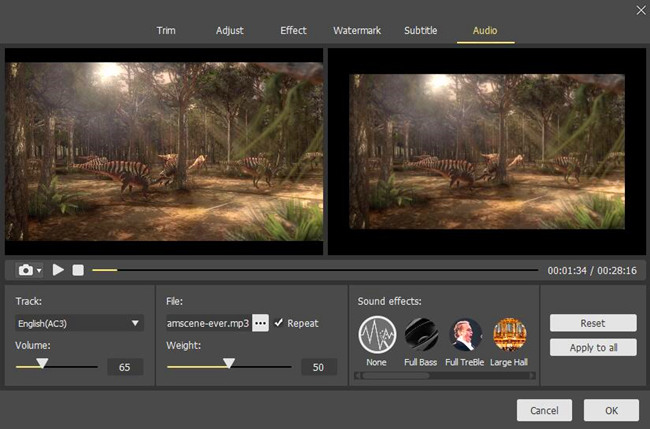
Before cutting the video, you can edit the clips with the built-in video editor. Simply click the "edit" icon of each segment and you'll be directed to the editing window where you can crop and trim the video, adjust the contrast, brightness, add watermark, subtitles and other effects to the video clips according to your own needs.
Step 4Choose output format
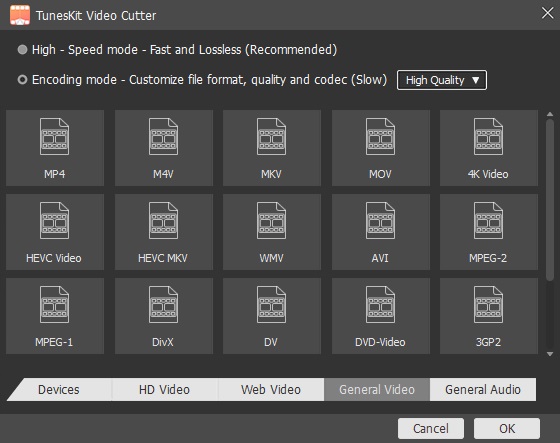
Once the video editing is finished, click "OK" button to save the changes. Then, go back to the main window and click the "Format" button to select the output format or device profile such as MP4, MOV, 4K, MKV, WMV, DivX, MP3, WMA, Apple iPhone X, Samsung Galaxy S8, Xbox One, etc. Or you can stay with M4V.
Step 5Cut the large video into small clips
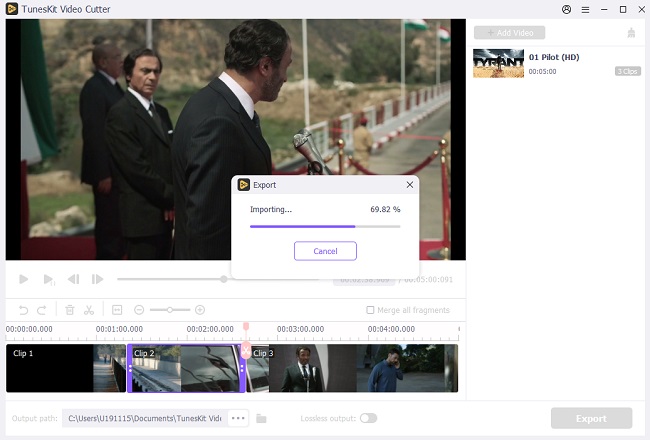
Now click on the "Start" button to let TunesKit Video Cutter trim your video file into smaller clips. Once done, click the history folder to locate those well-split video clips. If you have trimmed multiple segments and want to merge M4V movie clips, remember to click the "Merge Segments" option before exporting the clips.
Extra Tips
As M4V videos are usually DRM-ed, you'll need to remove DRM before cutting and editing them. For that purpose, TunesKit Video Cutter go with TunesKit M4V Converter is the best choice to rip DRM and cut iTunes movies.
