How to Screen Record on Windows 11 in 4 Ways
Nowadays, it is not a different task to record desktop screens, even on Windows 11. There is plenty of free screen recording software on the internet available on Windows 11 or others. But more often than not, people prefer only one screen recording product to record their desktop screen regardless of the recording limitations, thus missing out on the best screen recorder for different purposes.
To avoid that, here we list 4 practical tutorials on how to screen record on Windows 11 for different conditions. Now let's begin.
Part 1. How to Record Screen on Windows 11 with Built-in Recorder
Both Windows 11 and 10 have a free and pre-install screen recording tool called Xbox Game Bar. You may think it's for game recording because you see the 'Game' word. Indeed, it is applicable for game recording on your Windows 11. And more than that, it can record any specific scene on your computer, including videos, lessons, websites, folders, and more with high quality. But the downside is, that it can not capture the main desktop screen. So, if you don't mind that, just keep watching and see how to use it to record desktop screens on Windows 11.
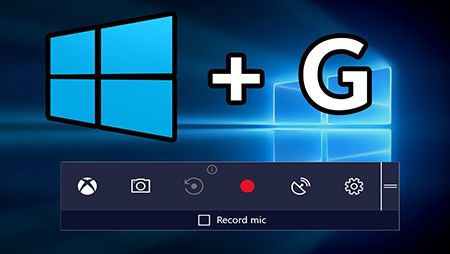
How to Record Desktop Screen on Windows 11 with Xbox Game Bar
Step 1: Click anywhere on the screen that you're about to record, then press Win + G key on the keyboard to open Xbox Game Bar.
Step 2: Click on the Start Recording button (or Win + Alt + R) in the Capture menu. Then a small recording bar will be displayed on your screen. Now you can keep doing your stuff, and click the Stop button (or Win + Alt + R) on the small recording bar when you finish.
Step 3: Next, click the Show all captures button to check the screen recording.
Part 2. How to Screen Record on Windows 11 with Audio
The built-in screen recorder can record various screens on Windows 11 for up to 4 hours except for the main desktop scene, and it can only export the recording to MP4. If it's not enough for your needs, here comes TunesKit Screen Recorder.
TunesKit Screen Recorder is a powerful recording tool, featuring 3 recording modes that enable users to record screen and audio simultaneously and separately on Windows 11 and Mac. It is capable of capturing all kinds of screens on your Windows 11 computer, including desktop screens, video scenes, etc. What's more, it can customize the recording time, schedule the recording process, and set the cursor type while in the recording. Meanwhile, it offers plenty of output formats like MP4, M4V, MKV, MOV, etc. so that you can select the desired one to be compatible with the output device. Please read the tutorial on how to record a screen on Windows 11 with audio.
TunesKit Screen Recorder for Windows 11
- Record screen and audio on Windows 11, Windows 10, Windows 8, Windows 7, etc.
- Download YouTube videos, video calls, gameplays and other scenes on your desktop
- Export video recording to various output formats
- Support cutting unwanted video recordings on Windows and macOS computers
How to Screen Record on Windows 11 with Audio Using TunesKit Screen Recorder
Step 1: Download and launch TunesKit Screen Record. The default mode is the screen recording, so all you need to do is to set the audio input option. You can toggle the system audio or microphone audio on or off in the main interface.
Step 2: Click on the Options button, here you can set the saving path, output format, shortcut keys, watermark, recording options and more.

Step 3: Now tap Select Area and adjust the recording windows size. When all is ready, click the REC button. And back to the activity you want it to be recorded. After that, click the Stop button.

Step 4: The recording will be shown in the History list, you can double-click to check it, or click the Edit button to cut the video length. And you can locate the destination folder by clicking on the Search button.

Part 3. How to Screen Record and Stream on Windows 11 for Free
Want to live stream the desktop screen while recording? You must not miss OBS. OBS has always been a leading free and open-source screen recording and live streaming solution. This screen recording tool allows you to record several screens in one recording task as well as adds different options like text, image, webcam, and so on. Besides, it can set the properties and filters to the screen source and comes with an audio mixer so that you can adjust the volume when recording. Now you can follow the steps below.
How to Record Screen on Windows 11 with OBS
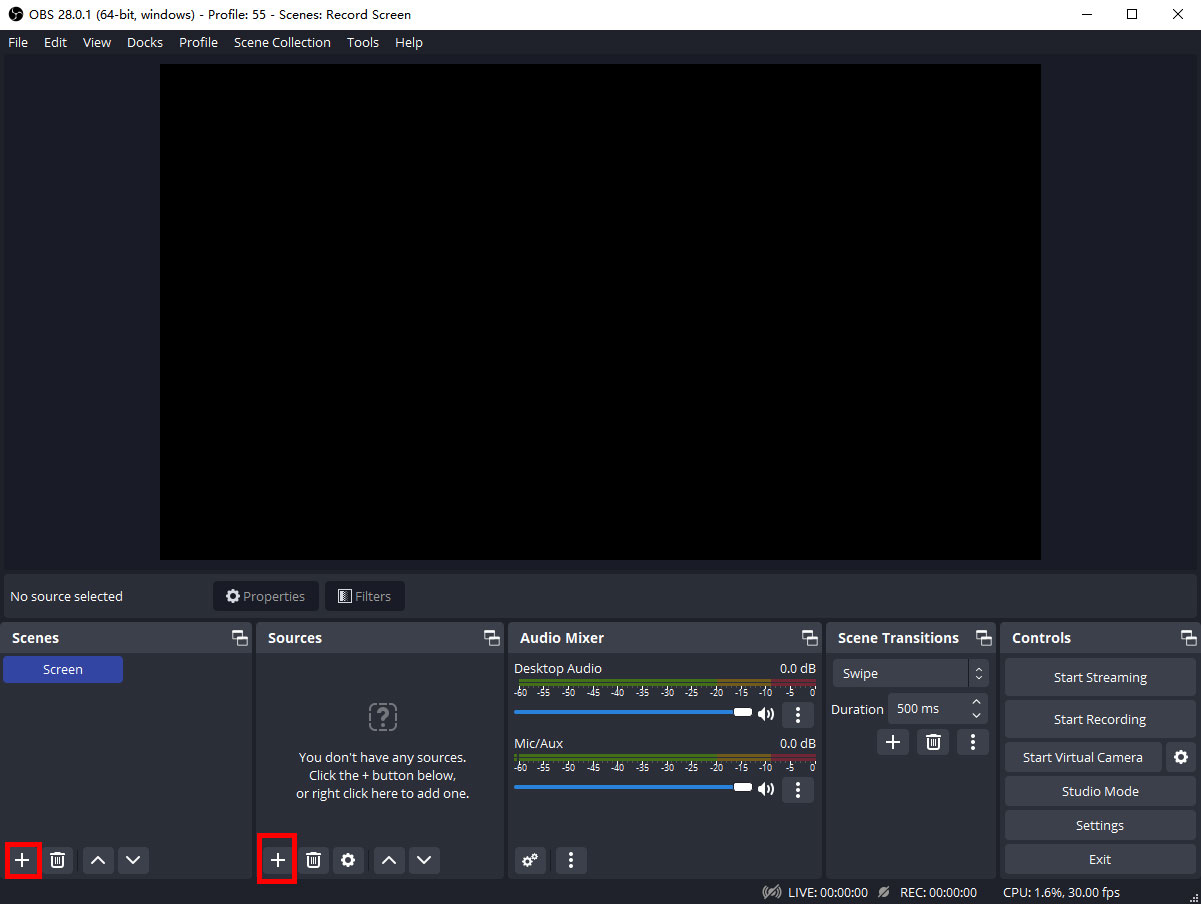
Step 1: Launch OBS on your computer. To create a recording, first, you have to add a scene in Scenes, and add screen source and audio source in Sources at the left corner. For example, you can select Display Capture and Audio Input Capture.
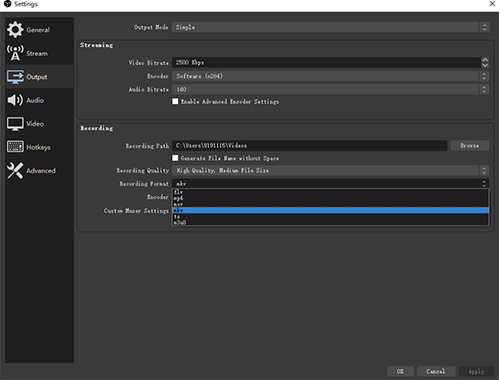
Step 2: Next, click on Settings on the right side. If you want to stream your screen, click the Stream option and select the Service and Server. Or if you just want to record your screen, click the Output option to set recording parameters.
Step 3: Back to the main interface and click on Start Recording or Start Streaming(optional). And you can do anything and let it be recorded. When you finish, click the Stop Recording button. And hit File > Show Recordings to open the folder to preview the video recording.
Part 4. How to Screen Recording on Windows 11 Online
For those who don't want to download any recording software on their Windows 11 computer, then the Free Online Screen Recorder could be a good choice.
With Free Online Screen Recorder, you can record the screen, microphone voice, and webcam at the same time online. Since it's a web-based recording tool, it will give you recording scene options so that you can capture the specific window, web, or the whole screen. The downside is that it will put a watermark on your recording unless you purchase a premium version, and MP4 is only the option of supported output format. If you please, you can read the following steps.
How to Screen Record on Windows 11 Online
Step 1: Access Free Online Screen Recorder, tick the option you want to record, then tap Start Recording.

Step 2: There are three options for you, you can choose Entire Screen, Windows, or Chrome Tab. Remember to tick Share system audio if you want the audio recorded.
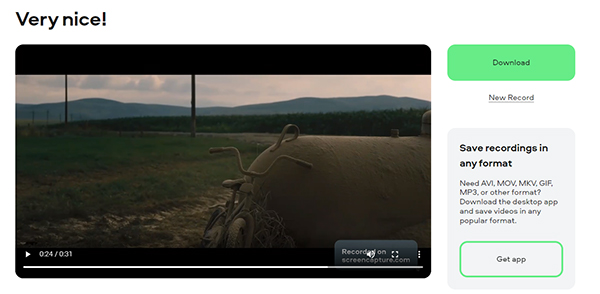
Step 3: When you've done, click Stop Recording and it will show you the recording. And you can click the Download button to save it to your Windows 11 computer.
The Bottom Line
We're sure you have got the answers now about how to screen record on windows 11. As you can see, the above 4 methods all work well on screen recording on Windows 11. Xbox Game Bar is a built-in program so that you can launch it without installation. As for the third-party software, TunesKit Screen Recorder can help you record any screen with its versatile features, while OBS can easily record and live stream your screen. And Free Online Screen Recorder can also satisfy your basic recording needs.
We list these 4 screen recorders for Windows 11 for different purposes, hope they will help you in your search.
