How to Record a Google Slides Presentation
Whether you're a student, a teacher, a trainer, or an employee, sometimes you need to give a Google Slides presentation. You may present to the audiences face-to-face, live online, or record a presentation video from Google Slides in advance.
The advantage of recording a presentation video beforehand is that it is easier to control the presentation process, no unexpected situations arise, you can organize what you say, and more. Therefore, it's essential to utilize a stable and professional screen recorder which no latency or sudden crashes. So, in this post, we will teach you how to record a presentation on Google Slides with some reliable screen recorder software. Then you are able to share with others. Let's see.
Part 1: How to Record a Presentation on Google Slides
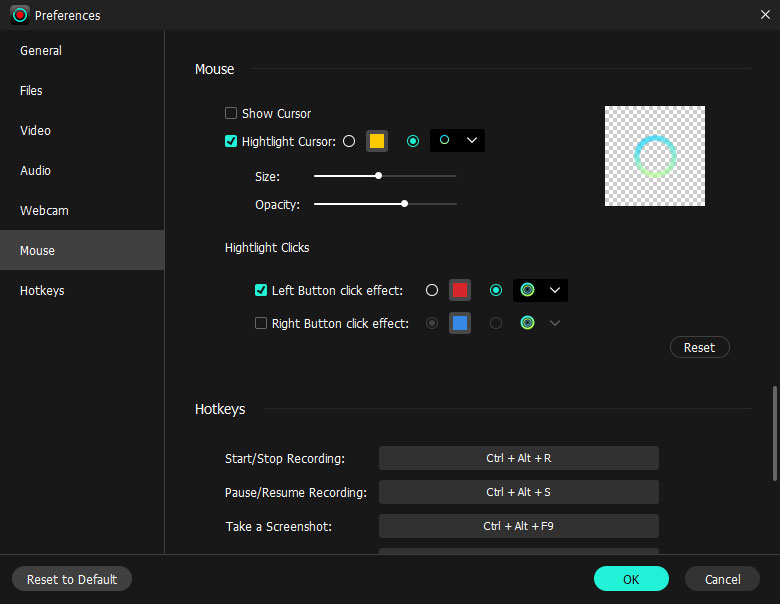
TunesKit Screen Recorder is one of the best recording programs we'd like to recommend. Recording a presentation requires a tool that lets the audience know what you are currently talking about or indicates where the key and difficulty are. That's where TunesKit Screen Recorder comes in handy. It has mouse options that enable users to change the cursor outlook, such as highlighting the icon or color, adjusting the size and opacity, and adding effects on the left or right click.
Besides, its different recording modes support you to record the Google Slides presentation video only, or with your voice, even with your webcam. So when you record on Google Slides, you can select the preferred recording mode you need and add your unique watermark to the Google Slides recording. And Google Slides recordings can be exported to any format in high quality, which facilitates sharing and uploading.
Key Features of TunesKit Screen Recorder
- Support recording screen on macOS and Windows
- Record Google Slides with voice and webcam
- Export Google Slides recorded video to MP4, MKV, MOV, etc
- Record a webinar, online meeting, and other screen activities
Note: The trial version can only record 1 minute audio with a default watermark. You can unlock the limits by purchasing the full version.
How to Record Google Slides with Voice
Step 1: Launch TunesKit Screen Recorder on your computer. First, select the recording mode from the main interface. Don't forget to enable the webcam and audio options if you plan to record both your voice and webcam.

Step 2: Click on the Options button in the upper right corner. Here you can change the preferences such as the output format, output quality, saving path, etc. If you need a highlight the cursor, go to Mouse and change it as you like. Last, tap OK.
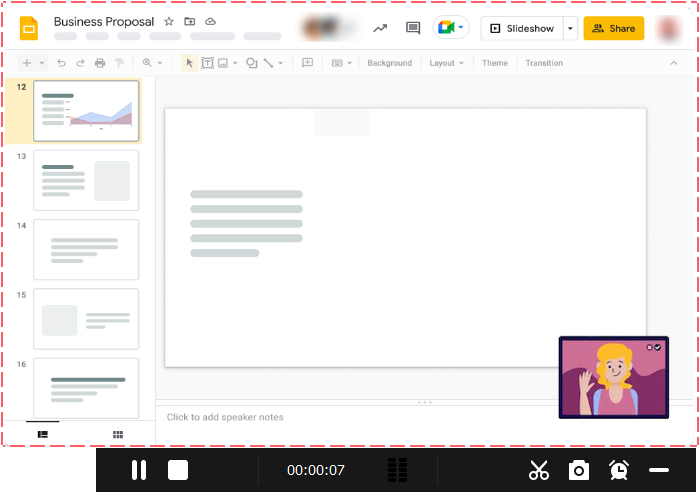
Step 3: To add a watermark on your Google Slides recording, click on the water-drop icon at the bottom left, then you can set the text or image as your watermark. Next, go to Google Slides and get ready for the presentation. Click on REC to start your Google Slides presentations.
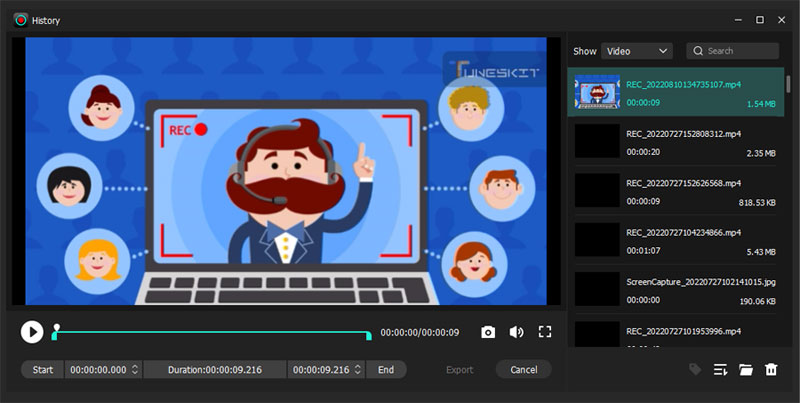
Step 4: When you finish, tap the Stop button and the video recording will be in the History list. You can hit the Edit icon to trim the Google Slides video and click on the Folder button to locate the recorded video file.
Part 2: How to Record a Google Slides Presentation for Free
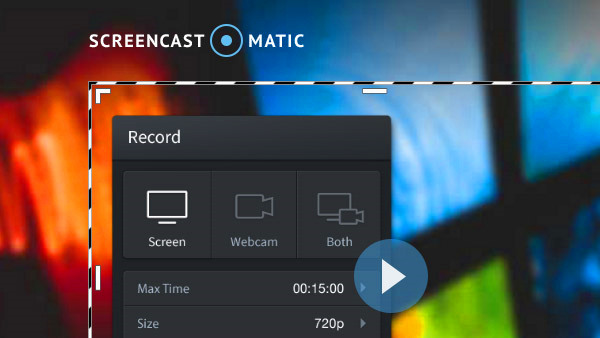
Screencast-O-Matic is a free video recording software worth considering for recording videos on Google Slides. This free recorder records narration, so you can insert a microphone and voiceover to your presentation while recording slideshows on Google Slides. Its drawing tools allow you to highlight, annotate and draw key points. You can trim Google Slides video recordings, add subtitles, and export the recording to MP4, AVI, and FLV as needed. But the downside is that you will be advised to upgrade this program if you need to capture computer audio and record more than 15 minutes.
How to Record a Presentation Video on Google Slides
Step 1: Download and launch Screen-O-Matic. A recording window and the guidance tool appear for you to choose which one to record. You should click on Both to capture the presentation and your face. And remember to plug in the microphone to record your voice.
Step 2: Click on REC to start recording Google Slides presentation. Here you can use the drawing tool to outline the content. When you finish, click on Stop, Done, and select the next step you want.
Step 3: You can choose Save/Upload, Quick Share, and Edit Video. To save the Google Slides video, click on Save and select output format, filename, folder, cursor, and captions as needed. Last, click on Publish.
Part 3: How to Record a Video Presentation on Google Slides Online
One of the strengths of Google Slides is that you can make slideshows and store them online instead of on your computer, which will not occupy your computer's local storage. Likewise, try online screen recording tools will not take up storage space unless you need to save the recording product locally.
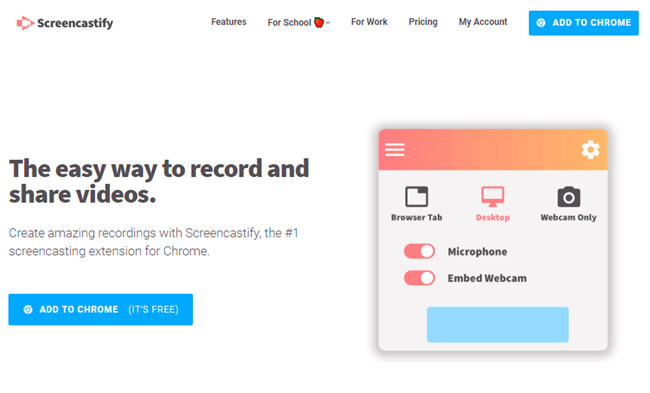
We suggest Screencastify, an easy and excellent solution. It's a quickly launched extension for Chrome, enabling you to record browser tab, desktop, and webcam only. Also, it comes with drawing tools, countdown settings, tab audio settings,and a simple video editor.
It also has drawbacks. The free version only supports recording videos of up to 5 minutes and only exports videos in WEBM format. But if you need to edit the video recording, you can export it in MP4 format for free. Here are the steps for your reference.
How to Record a Presentation on Google Slides Online
Step 1: Go to Google extension and search for Screencastify. Install it to Chrome.
Step 2: Go to the Google Slides page and get prepared for the presentation, then click on the Extensions icon to find Screencastify. Click on it and turn on Embed Webcam, Countdown, and Show Drawing Tools. Make sure you have connected the microphone and hit Record.
Step 3: Now, you can record Google Slides presentations and use the drawing tools at will. Once finished, click on the Stop button.
Step 4: The Google Slides recorded video will be shown on the new page. Here you can check the process, share it with other apps, or export it. Or you can tap Open in Editor and edit the content, such as trimming, cropping, adding blur area, editing text, etc.
Part 4: Conclusion
By reading this, we believe you know how to record a presentation on Google Slides. These three effective methods can almost meet what you need in your Google Slides presentation. We still take TunesKit Screen Recorder as the priority to record not only a presentation from Google Slides but also all screen activities that appear on your computer. Of course, it's up to you which one you choose. We hope this post helps you a lot.
