3 Ways to Make a GoToMetting Recording with Ease

For some unavoidable reason, you need to work online. As with going to the office, working online also requires conferences. There are many specialized online meeting software available to support your remote participation in meetings, such as GoToMeeting. This is an all-in-one online meeting, desktop sharing, and video conferencing software that allows you to talk to leaders, clients, consumers, or colleagues online in real time.
Sometimes when you are involved in an online meeting, you may not be able to participate in time because you have other things to do, and you may miss important information. Recording meetings is, therefore, a great way to rewatch the meeting. In today's article, we will show you the tutorials on how to start a GoToMeeting recording.
Part 1. How to Make a GoToMeeting Recording with GoToMeeting Built-in Tool
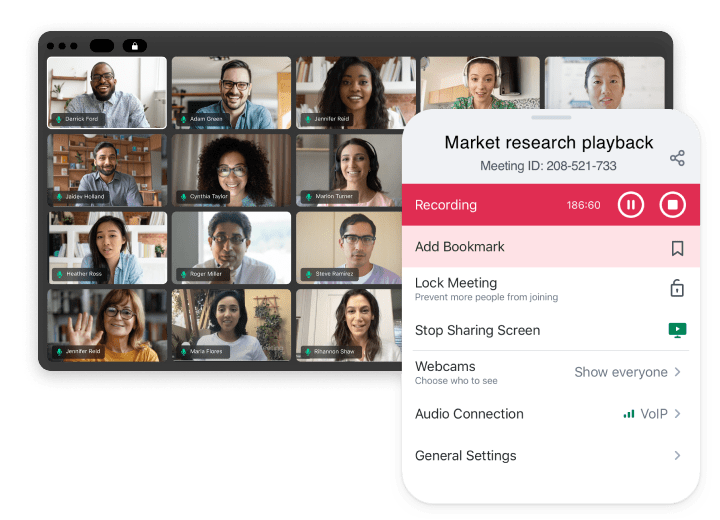
GoToMeeting has a built-in recorder so that anyone with a subscription to GoToMeeting Pro or GoToMeeting Plus, whether they are a host or an attendee, can record GoToMeeting and save it locally or in the cloud. The prerequisite is that the admin or host has activated the cloud recording function. Meanwhile, you can share the GoToMeeting recorded video by URL and rewatch it anytime. Let’s see how to start a GoToMeeting recording with the built-in tool.
How to Get GoToMeeting Recorded Video
Step 1: Launch or attend a GoToMeeting session. If you're an attendee, make sure to ask the admin to open the recording permission before you start the recording. If you’re a admin or host, tap Admin Center > User Settings to unlock the recording limits..
Step 2: Next, click on Record Meetings > Cloud Recording/Local Recording > Save to open the recording mode. Then turn to Organizer Control Panel > View and click on Recording.
Step 3: When the meeting ends, click on the Stop button and the GoToMeeting recorded video will be in the Meeting History.
Part 2. How to Get GoToMeeting Recorded Videos on Windows/Mac
This built-in tool is convenient and quick to launch. It's good enough if you just want to record and review the recorded video from the GoToMeeting program or online. However, you can not transfer the GoToMeeting recording files to other devices as the video format is only compatible with the GoToMeeting program and Windows Media Player only. Also, it doesn't have an editor that you are not able to cut and keep the significant parts of the GoToMeeting recording video only. Therefore, in order to implement these operations, you're suggested to TunesKit Screen Recorder to record GoToMeeting.
TunesKit Screen Recorder is a powerful screen recording tool for Windows and Mac that has the ability to record GoToMeeting sessions and audio without lag or loss. And it offers more than 20 V/A output formats that are playable on most devices. In addition, it comes with a simple editing tool suitable for cutting GoToMeeting meeting videos into small clips. You can refer to the tutorial on how to record a GoToMeeting video using this program.
TunesKit Screen Recorder
- Support recording webibar and online meeting from most platforms
- Support recording webcam screen, system audio, and microphone voice
- Multiple output format can be selected, such as MP4, M4V, MOV, MKV, WMV
- Come with built-in video editing tool to cut and trim the GoToMeeting video
How to Record GoToMeeting Conference Videos via TunesKit Screen Recorder
Step 1: Download and install TunesKit Screen Recorder on your computer. Launch the program, and you will see the main interface below.

Step 2: You can select Screen Recording or other recording modes on this interface. Before you get started, tap the Options button if you need to set the recording preferences. In the Settings panel, you can preset the output folder, recording format, webcam, mouse, and hotkey.

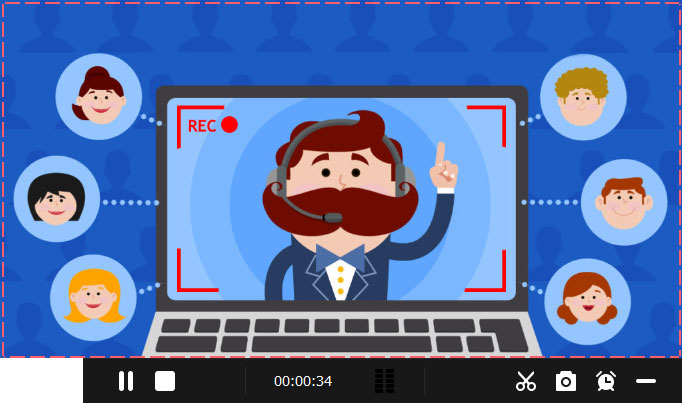
Step 3: Adjust the recording area over the GoToMeeting. When all is ready, click on REC. You can pause, cut, and screenshot from the recording bar while recording. When you finish, tap the Stop button.
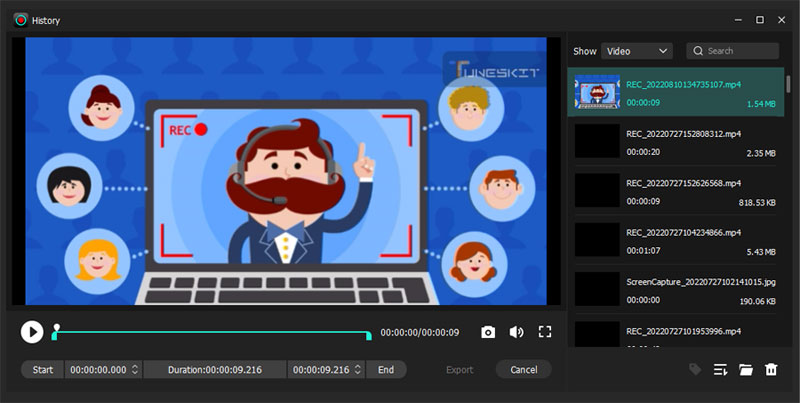
Step 4: The GoToMeeting recorded video will be in the History list. You can double-click to check the GoToMeeting video or hit the Edit icon to cut the clip.
Part 3. How to Record GoToMeeting Videos Online for Free
We have also taken into account that some people do not want to apply for recording permission or install any third-party software. In this case, it is a good solution to choose a lightweight online video recorder, such as Screen Capture.
Screen Capture is a free online screen recorder for recording website videos as well as desktop activities with some simple clicks. Besides capturing the GoToMeeting screen, it can still record audio from the meeting and your voice(as long as you plug in the microphone) and save them to MP4 format with average quality. The downside is that the free trial will leave its brand logo as the watermark on the GoToMeeting recordings. If you don't mind, you can check the how-to steps as follow.
How to Make GoToMeeting Recordings Online
Step 1: Open the GoToMeeting software and get ready for the meeting.
Step 2: Access Screen Capture Online Recorder and turn on Microphone, Sound, and Webcam as needed. After that, click on Start Recording and select GoToMeeting window to start the recording.
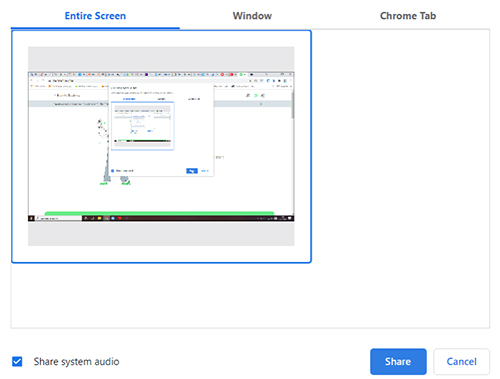
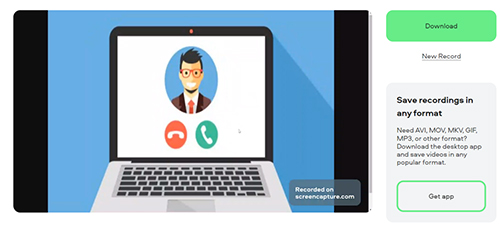
Step 3: Now you can go back to GoToMeeting and join the conference. Once you've done, tap the Stop Recording button from its recording page. Then it will let you check the recorded GoToMeeting video. Once confirmed, hit the Download button to save it to your computer.
Conclusion
Today we have concluded three feasible methods to make a GoToMeeting recorded video. You can use the built-in tool from the program and try additional tools like TunesKit Screen Recorder or Screen Capture online recording tool for your GoToMeeting recordings. Just try them out and find which is suitable for you.
