How to Record Xbox One Gameplay
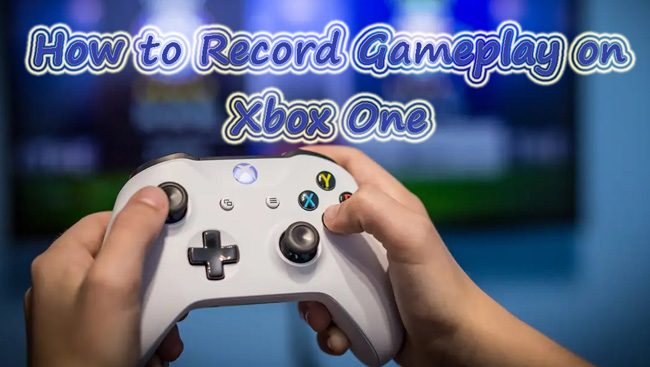
The kind of games is what determines the strength of any gaming system. Xbox One game console beats the odds when it comes to the quantity of next-generation games to opt for. Be it racing, fighting, adventure, or sports, then Xbox One is here to satisfy your ego. And how do you play such high-end games without showing the world what you are made of?
Well, you can learn how to record gameplay on Xbox One in 3 different ways from this article. With that, you will manage to share that high score trick or a drastic move among other achievements with your fans. The great news is that Xbox One comes with a built-in feature to record your gameplay. Meanwhile, other sophisticated tools are also in the picture when it comes to recording gameplay screens.
Part 1. How to Record Gameplay on Xbox One Built-in Recording Feature
We'll first learn how to record Xbox One gameplay with its built-in recording feature. It comes pre-installed on the Xbox console. The latest model of the console comes with an Xbox DVR for real-time screen capture and recording. More so, you can make the necessary edits and share the final piece without much issue. Below are the steps to record your game on Xbox One console.
How to Record Gameplay on Xbox One Console
Step 1: You need to begin playing your game so that you can record it in real-time. To record, press the "Xbox" button on the controller and wait for the "Menu" to pop up on your computer.
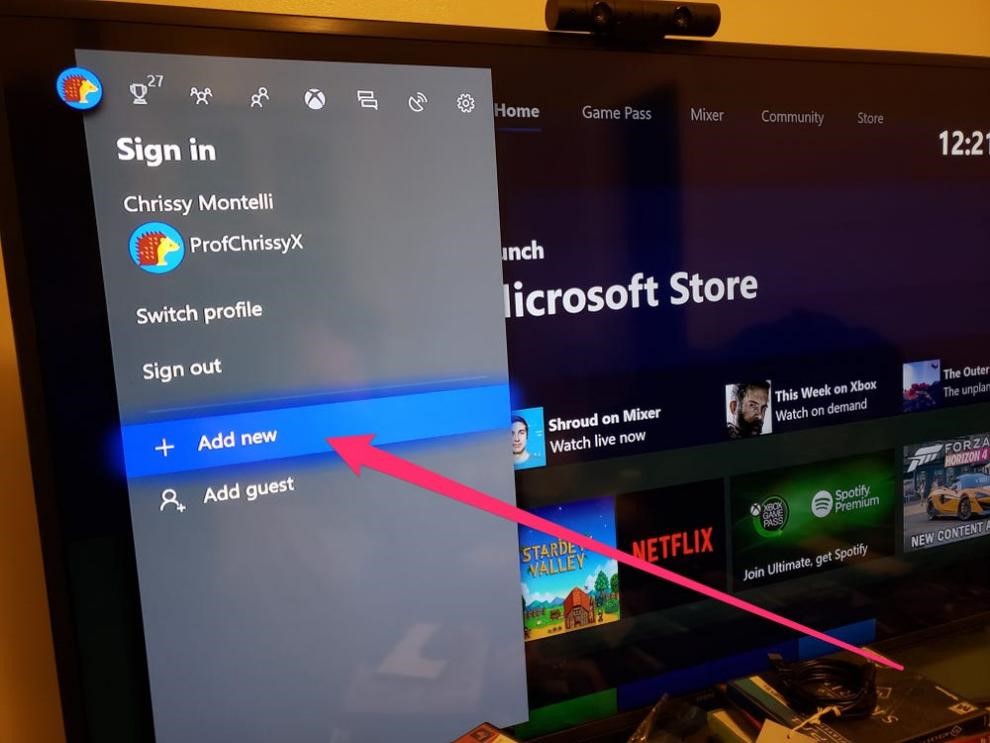
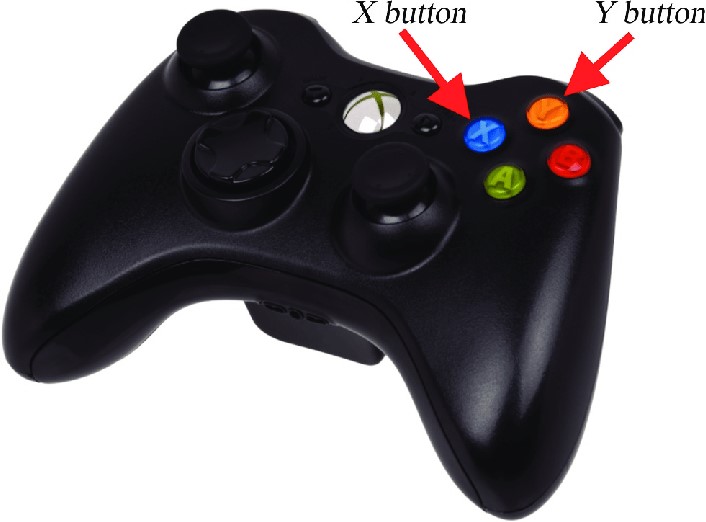
Step 2: Next, press the "X" button on the controller to save your previously played 30-seconds of gameplay video. You can also get screenshots of your moves by pressing the "Y" button.
Step 3: Preview the video that you just recorded then feel free to share it on the available media platforms.
Part 2. How to Record Xbox Gameplay via TunesKit Screen Recorder
The next mission is to learn how to record gameplay with a voice on Xbox One using TunesKit Screen Recorder. TunesKit Screen Recorder has stood the end of time when it comes to recording anything of value that you want from the screen. Be it app tutorials, webinars, live broadcasts, and computer games.
It works in easy steps to record your Xbox gameplay in high-quality output. You can incorporate sound in your video from your microphone, webcam, or computer screen, or use background music. This app is also highly compatible with several devices and platforms. Simply save your recordings in any format such as MOV, M4V, WebM, MPEG, and many more to share and be accessible from any player or platform.
Key Features of TunesKit Screen Recorder
- Output your video recordings in high resolutions
- Save your video in several formats like MP4, MOV, AVI, etc
- Flexible options for settings adjustments
- You can record video along with audio
Learn how to record Xbox One gameplay with TunesKit Screen Recorder via these steps.
How to Record Xbox One Gameplay on Computer
Step 1 Launch TunesKit and choose the recording mode
First, download and install the TunesKit app on your computer. Then open it on your PC or Mac device and head on to the main interface. Next, choose the recording mode to begin the session. You can use both video and audio modes.

Step 2 Set the recording area
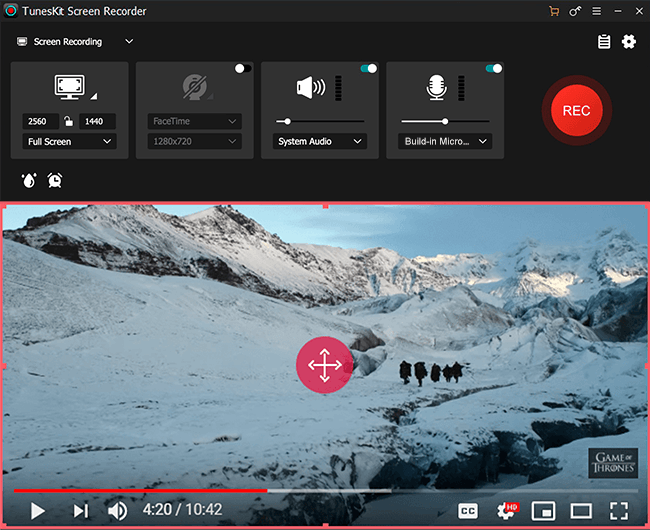
Now, select the recording area to capture the Xbox One gameplay. Just click on the "+" button and the recording window will pop up. There's a drop-down arrow with recording sizes like 960*540, 1280*720, 480*320, etc, that you can choose. Meanwhile, you can also use full screen for recording.
Step 3 Adjust output and recording parameters
Click on the "Options" icon and lots of options will be availed. Here, begin to customize the recording settings before you start recording. Among the parameters you can change are the output format, personalizing keyboard shortcuts, and adding precepts like watermarks, and images. You can also set the export icon to support several devices and platforms.

Step 4 Record your video on the screen
Click on the "REC" button then start to play your game after a 3-seconds countdown. You can easily pause the process at will and resume any time. Click on the "Stop" button once the recording process is complete.

Step 5 Preview and edit your video
This process is optional but important that you carry it out. Double-click on the "Preview" feature to preview your recorded Xbox One gameplay. Likewise, use the "Edit" icon to make edits like cutting or splitting your recorded Xbox One gameplay. Finally, find your recording by hitting the "Search" icon to open the file location. The file is free for sharing on other platforms and for use on other devices.
Part 3. How to Record Xbox One Gameplay on PC with OBS
This part walks you through how to record Xbox One gameplay on PC with OBS. OBS is a free and open-source platform that is rich in advanced features. It is also highly compatible with many hardware and platforms. More so, the plugin library is wide, offering you tones of precepts to ice your video with. Check out how to screen record your games with Xbox using OBS.
How to Record Xbox One Gameplay with OBS
Step 1 Connect the Xbox to your PC
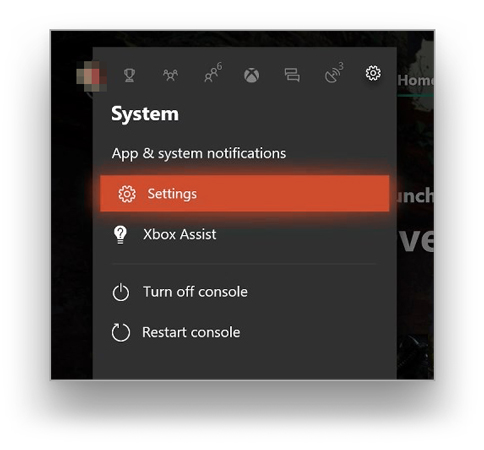
The initial stage is to enable streaming on the Xbox One console. To do this, go to the "Console Settings" then navigate to the "Preferences" option and choose Xbox app connectivity.
Step 2 Download and install the OBS app
Just go to the official site to download, install, and launch the OBS app on your computer. Next, log in to the same account that you use on your Xbox One Console.
Step 3 Connect Xbox One
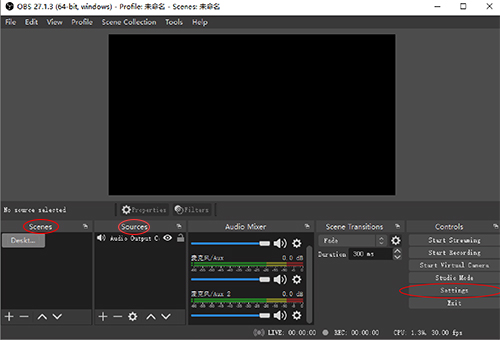
Here, go to the "Connection" section and select the Xbox One option. Then press the "Stream" button and wait for a window with the console screen to open. Next, add this window to the OBS as a "Screen capture" in the main OBS Sources area.
Step 4 Play and record the gameplay
Finally, go on gaming and this will be captured in the "Screen Capture". You can then save and share your gaming video on other platforms.
Part 4: Conclusion
You can now take the bull by the horn and record your own gameplay on Xbox One. These 3 ways have shown how to record gameplay on Xbox One in simple steps. You can use a trial version on TunesKit Screen Recorder for high-quality output. However, it will add a watermark to your recording. But worry less as you can upgrade to the Premium version to eliminate the watermark and also get advanced features for use.
