How to Record Facebook Video Calls on Win or Mac

Have you seen the movie Searching or Unfriended? They are what we called "Desktop Movies" because all the scenes in these two movies are from the computer desktop. You can see all those video calls on Skype, Facebook, FaceTime, and Viber are being recorded and made into movies. You don't need a camera to make a movie, a useful screen recorder is enough now.
You probably not a movie maker, but the idea of recording video calls on desktop will always come to you. For example, it's convenient and efficient to record the business calls or a conference meeting when you don't have time to note down every detail. A meaningful conversation with your family and friends also needs to be memorized.
Record the video call is easier for Skype users because there is a built-in recorder. As for FaceTime, you can use QuickTime to record it. But to record Facebook Video Calls, you will need TunesKit Screen Recorder.
TunesKit Screen Recorder
- Caputure any videos play on your desktop, such as video calls, Twitch game video, and live streams
- Record screen video and audio separately or simultaneously
- Work well as a screenshot tool, output high resolution recordings
- Convert recorded video to any format without watermark
How to Record Facebook Video Calls on Desktop
Step 1 Select Recording Mode and Customize Recording Size

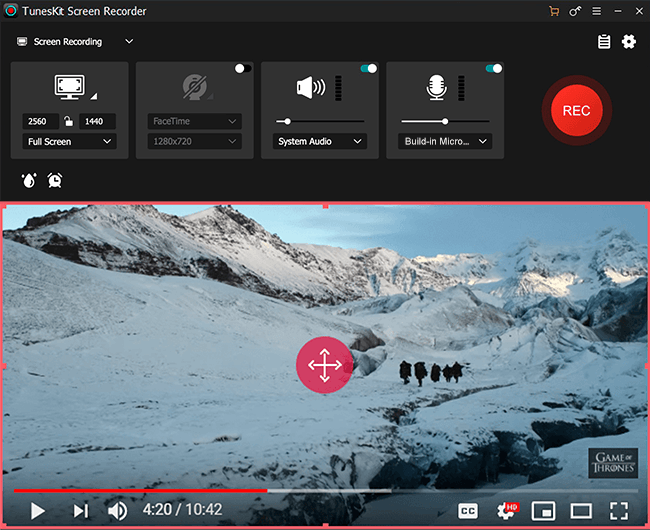
Download and launch TunesKit Screen Recorder. On the main interface, there are 3 modules. The one on the left is to customize the recording size and area. The middle one is the audio settings and the right one is to choose recording mode. To record Facebook video calls on PC, both video and audio should be included. So, you need to click the "camera" icon. After that, go to the first module to customize an area for recording. Click the "+" button, a recording window will pop up. Then you can either adjust the recording size manually or click the "down arrow" icon to select a resolution from the drop-down list.
Step 2 Adjust Recording Parameters

Next up, click the "Cog" icon at the lower right corner of the interface to open the "Setting" panel. In this panel, you can adjust the recording settings. For example, change the output folder, output format or device, personalize keyboard shortcuts, add image watermarks, make a scheduled recording by setting the start and stop capturing time or change the cursor and click effects, etc. As for the output format and device setting, you can click the Format panel and choose a suitable format or device. TunesKit Screen Recorder now supports numerous video formats such as MP4, M4V, MKV, MOV, AVI, 4K Video, HD formats, etc.
Step 3 Start to Record the Game

When you finish all the settings, go to the third module on the right hand and click the red "REC" button to start playing your target video after a 3-second countdown. Use the toolbar to help you with the recording. Click the Pause button to stop the process temporarily or cut the recording and then continue recording by clicking the Scissors icon. To stop the recording completely, just click the Stop button. You can also set the hotkeys for these buttons.
The Final Thoughts
If you want to record Facebook video calls on Mac, TunesKit Screen Recorder also has a Mac version. Besides Facebook video calls, of course, you can also use it for recording games, video tutorials, and live streams as you want. Feel free to get the trial version and try it as you want!
