How to Voiceover a Video 2020

Voiceover is a common thing we can see in all kinds of video. Voiceover the video can give the audience more information or share your own feelings about the footage. Voiceover can be an instantaneous one or a delayed one. If we are talking about the delayed one, the footages are usually shot and edited in advance and the voiceover is added later. We see this a lot in life Vlogs. And the spontaneous one usually can be seen on a video tutorial or reviews video. Video voiceover not only brings convenience to video production but also works the magic of montage on the video. With voiceover, your video will be more attractive.
What's a good voiceover? An attractive voice is a plus but not necessary. The most important is that you need to keep your voiceover articulate and simple. To achieve that goal, you've better consider what you are going to say before you add voiceover to video. You can write it down or simply practice it before the recording. And when it comes to what tools you should use, there are actually many video editing software has the feature to help you do the voiceover.
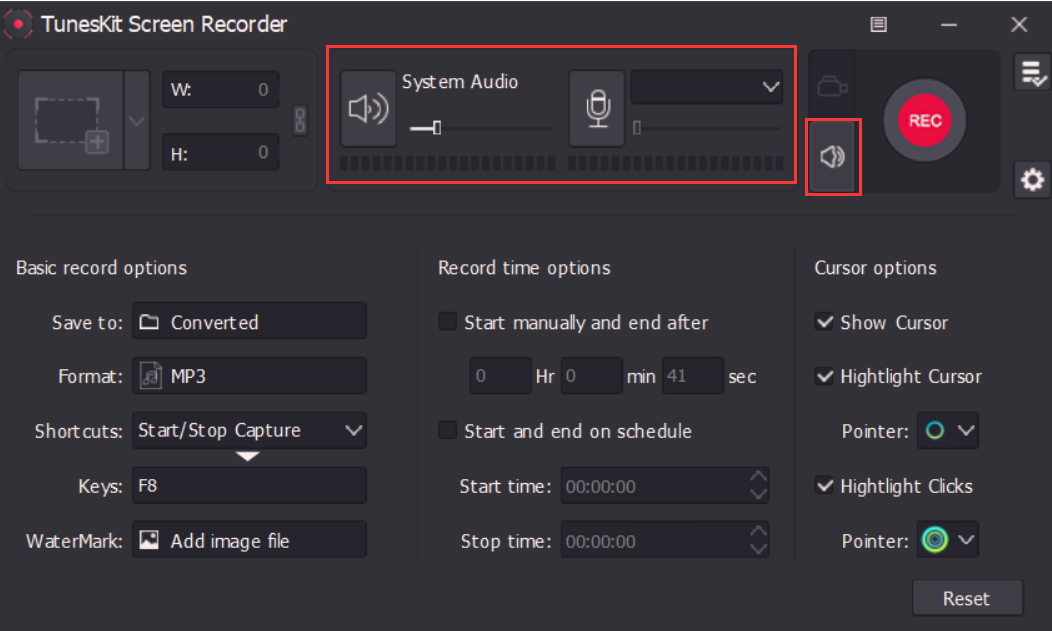
But if you are making video tutorials or reviews videos, TunesKit Screen Recorder is pretty neat. TunesKit has 3 recording modes: video-only, audio-only, video and audio. It can record both your system sound and your voice. Choose "video and audio mode" when you are trying to do the instantaneous voiceover and choose "audio-only mode" when doing the delayed one. Now let's see the detailed steps.
TunesKit Screen Recorder
- Caputure any videos play on your desktop, such as video calls, Twitch game video, and live streams
- Record screen video and audio separately or simultaneously
- Work well as a screenshot tool, output high resolution recordings
- Convert recorded video to any format without watermark
How to Screen Record with Voiceover
Professional video makers usually prepare special microphone for voiceover recording. But if you are a beginner or you simply want to make videos for your family and friends, an earphone is enough. Now we will take video tutorial as an example.
Step 1 Change Recording Settings

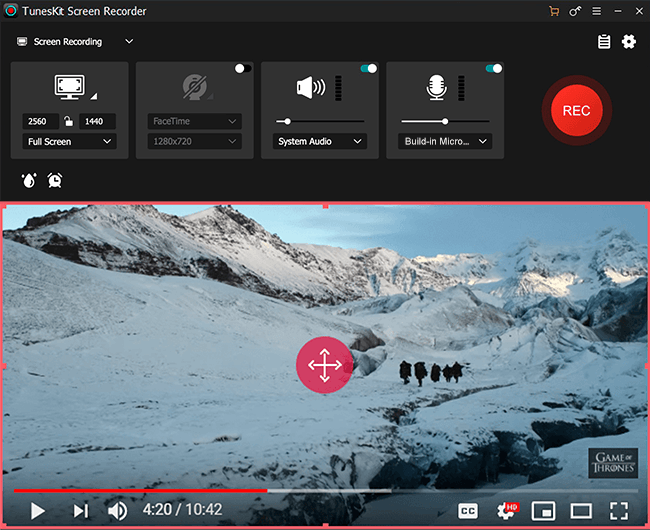
After you download and install TunesKit Screen Recorder, first thing to do is to choose the recording mode. When you enter the main interface, you will see the default setting is "video and audio" mode. Plug your earphone to the PC, enable the "microphone" icon at the right and change the soundtrack to "earphone". This can help you record both system sound and your own voice. After that, you can check other basic settings. Click the Cog icon at the bottom right to drop down the setting panel. You can adjust the location where you want to store the output files and change the default output format (Usually MP4) to HD formats. Use hotkeys if you don't want the toolbar appears in the recordings.
Step 2 Use "Full Screen" to Record Video Tutorial

Next up, you need to choose an area of your computer screen to record. Click the down-arrow icon next to the frame button with a "+". There will be many fixed sizes for you to choose but you can also choose "Select area to record" to customize the frame. "Full Screen" is very convenient for making video tutorial.
Step 3 Record Screen with Voiceover

After you finish all the settings, click the "REC" button on the right of the main interface and begin to record your computer screen. Now you can speak to the microphone and the instruction will be recorded together with your computer screen. Click the "Stop" button (the second icon from left to right) on the toolbar when you want to stop the recording. After that, a window will pop up to show you the preview of your recording and you can use the Edit feature to trim the recording.
The Final Thought
TunesKit Screen Record also allows you to record your own voice only. You can switch to the "audio-only" mode by clicking the "amplifier" icon next to the "REC" button. And then, choose the soundtrack to "microphone" or "earphone". When you finish recording the your voice, you will get the audio files and you can add them to the video editing.
