How to Record YouNow Broadcasts on PC

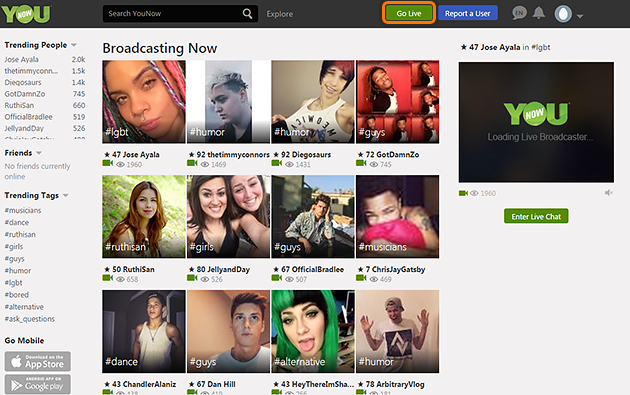
As a live broadcasting site, YouNow has a bunch of young users who are under 24 years old. YouNow started its business at 2011 and significantly grew its users at during 2014 and 2015. In 2017, YouNow once lost users to its competitors, Twitch and Live.me. To save the situation, YouNow made a lot of changes, such as improve the livestream quality to high definition resolution and enable broadcasters to have at most 3 guests at the same time in 1 broadcasting.
The video content on YouNow mainly are what is trending among young people, including music or dance performances, video chatting and joke talking. YouNow is available in 15 languages and supported website, iOS and Android apps. So, to record YouNow stream, you can go either one of the ends. If you prefer to do the recording on PC, you can check TunesKit Screen Recorder, a free tool for screen capture and audio recording. Here we will list out the key features and how you gonna record YouNow with TunesKit.
TunesKit Screen Recorder Key Features
- Caputure videos play on your PC, such as video calls and YouTube videos
- Record screen video and audio separately or simultaneously
- Work well as a screenshot tool, output high resolution recordings
- Convert recorded video to any format without watermark
How to Record YouNow Live Stream
Step 1 Decide Recording Mode
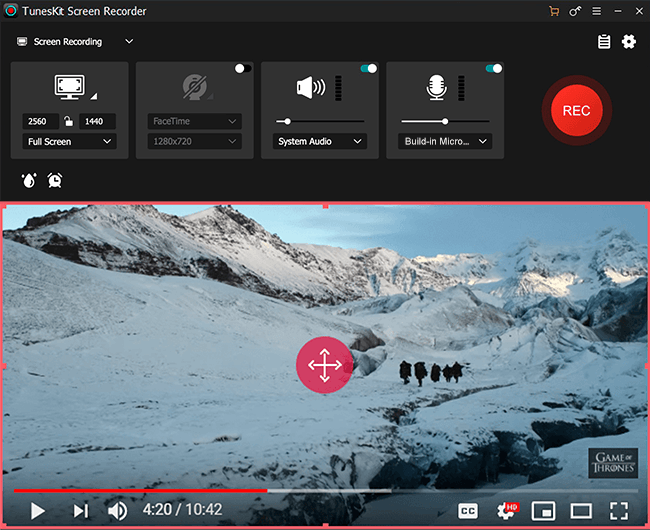
Download and install TunesKit Screen Recorder from the above link. Double-click to launch the recorder and you will see a toolbar as below:

If you want to record livestream video from YouNow, you should choose the  Video recording mode (by default); if you only need to capture audio from YouNow, click on
  and switch the recorder to "audio recording mode". Here we will take the video recording mode as an example.
Step 2 Adjust Record Settings

Next, click the ![]() Settings icon at the lower right corner of the interface to drop down the setting panel. You can adjust the record settings based on your requirements. For example, change the output folder, output format or device, personalize keyboard shortcuts, add image watermarks, make a scheduled recording by setting the start and stop capturing time or change the cursor and click effects, etc. If you want to output hight resolution format, choose output format under HD format catalog.
Settings icon at the lower right corner of the interface to drop down the setting panel. You can adjust the record settings based on your requirements. For example, change the output folder, output format or device, personalize keyboard shortcuts, add image watermarks, make a scheduled recording by setting the start and stop capturing time or change the cursor and click effects, etc. If you want to output hight resolution format, choose output format under HD format catalog.
Step 3 Customize Recoding Area

Open younow.com and right before you start to capture YouNow broadcast, you should adjust the playing window and select an area to record. Click the "+" button, a recording window will pop up. Then you can either adjust the recording position or size manually.
Step 4 Start the Recording

Now click the red REC button and get ready to start playing your target video after 3-second countdown. You can also stop the process temporarily by clicking the Pause button  or cut the recording and then continue recording by clicking the Scissors icon
  . To stop the recording completely, just click the Stop button
  .
.
The Bottom Line
After the recording, you can preview the video with the built-in video player and do some easy cutting to the recording if there is any unwanted part. To record a long livestream, TunesKit Screen Recorder also offer a Time Scheduler to help you record the screen automatically. TunesKit Screen Recorder also has Mac version for you to try, so just give it a shot!
