How to Record a Webinar on Mac/Windows 10/Online/for Free
The big difference between webinars and other online meetings is that the former usually has a large audience and is more informative and interactive than the latter. Especially the professional kind attended by a specific group of people, it always contains lots of information for the audience to digest. In such cases, you can try to screen record the significant part of it.
While many webinar platforms offer built-in screen recorders, you need to log online to re-watch the webinar recording. What's more, as a viewer, you may only need a few clips rather than the entire webinar process. In such cases, we offer 3 practical methods on how to record a webinar on Mac/Windows 10/Online. Let's get started.
Part 1. How to Record a Webinar on Mac/Windows 10
More benefits you will gain if you record a webinar via an additional screen recorder, like more freedom and options. For example:
1) The annotation feature can help you highlight important content and take notes.
2) Cut out the waiting or unwanted parts in webinars caused by technical problems.
3) Even if you are caught up in something else and can not be in front of the computer, you won't miss anything because you can set a scheduled task and make the recorder screen capture the whole webinar for you.
TunesKit Screen Recorder is such a powerful tool that can help you accomplish all we mentioned above. Moreover, it provides more than 20 output formats, such as MP4, M4V, MKV, MOV, WMV, etc., which lets you play the Webinar recording on different devices. Now let's see how to record a webinar on Mac or Windows 10 computer.
TunesKit Screen Recorder
- Capture webinars and other meetings from any platforms
- Record screen video and audio separately or simultaneously
- Work well as a screenshot tool, and export high-resolution webinar recordings to MP4, MKV, MOV, etc.
- Convert recorded webinar video to any format without watermark
How to Record a Webinar on Computer
Step 1 Select Output Format to Record Webinar
When you get into the main interface of the TunesKit Screen Recorder, you can see a "Setting" icon at the upper right. Click on it to pop up a setting panel. You can finish all the basic output settings here. You can choose the output folder in the File part and select the output format in the Video part. If you value the recording quality, you can choose a lossless format. In addition, you are able to adjust the webcam options, cursor image, and hotkeys.

Step 2 Create a Recording Area and Start Recording Webinar
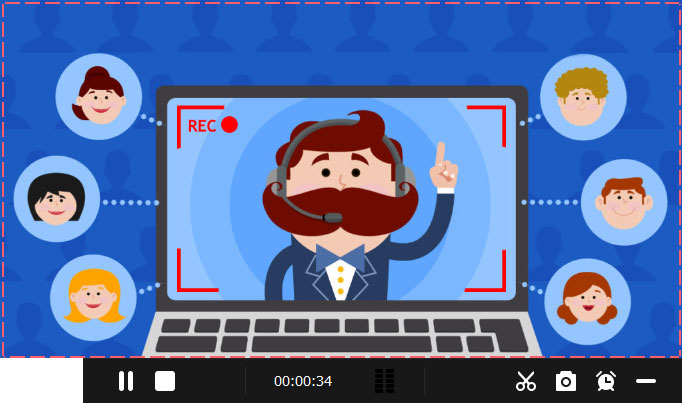
After you enter the webinar, you can click on "Screen Recording" and adjust the recording window of the webinar. Be sure to enable sound recording of the system and microphone before you begin recording the webinar. When you confirm everything is OK, you can hit the "REC" button and begin to record.
Step 3 Trim the Webinar Recording
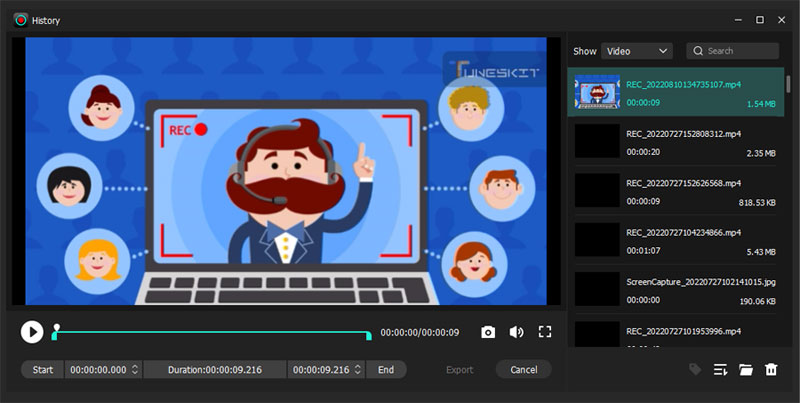
When you finish, tap the "Stop" icon to end the recording. Then it will be shown to the History list, and you can trim or cut the recorded webinar video or click on the "Folder" icon to open the target folder.
Part 2. How to Record a Webinar for Free
OBS Studio is an excellent solution in case you want freeware to get a webinar screen recording. This free and open-source webinar screen recorder is available on Windows, Mac, and Linux, which can easily capture webinar video and audio without further operation. You can add texts, images, and a webcam while you're recording the webinar. Let's see how to record a webinar via OBS:
How to Screen Record a Webinar for Free with OBS
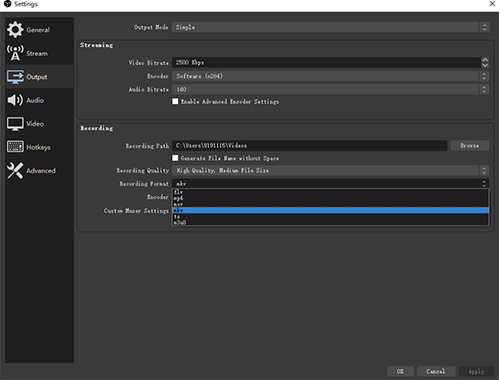
Step 1. First, launch OBS Studio and click on Settings. You can change many options in the Settings panel, such as output path, output format, hotkeys, etc.
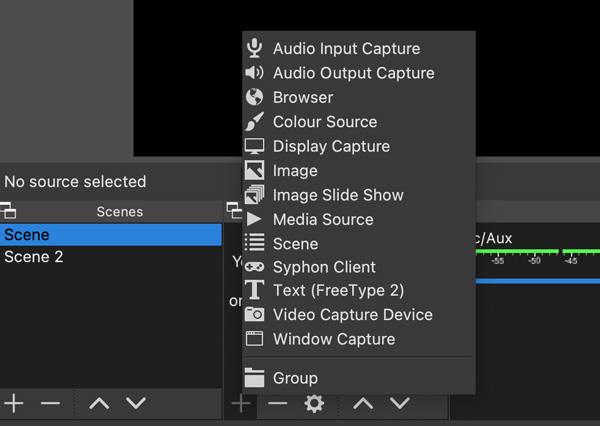
Step 2. After that, create a screen in Scenes, and select the webinar source in Sources at the bottom left. Remember to add "Audio Output Capture" and "Audio Input Capture" in case you need to record the webinar audio.
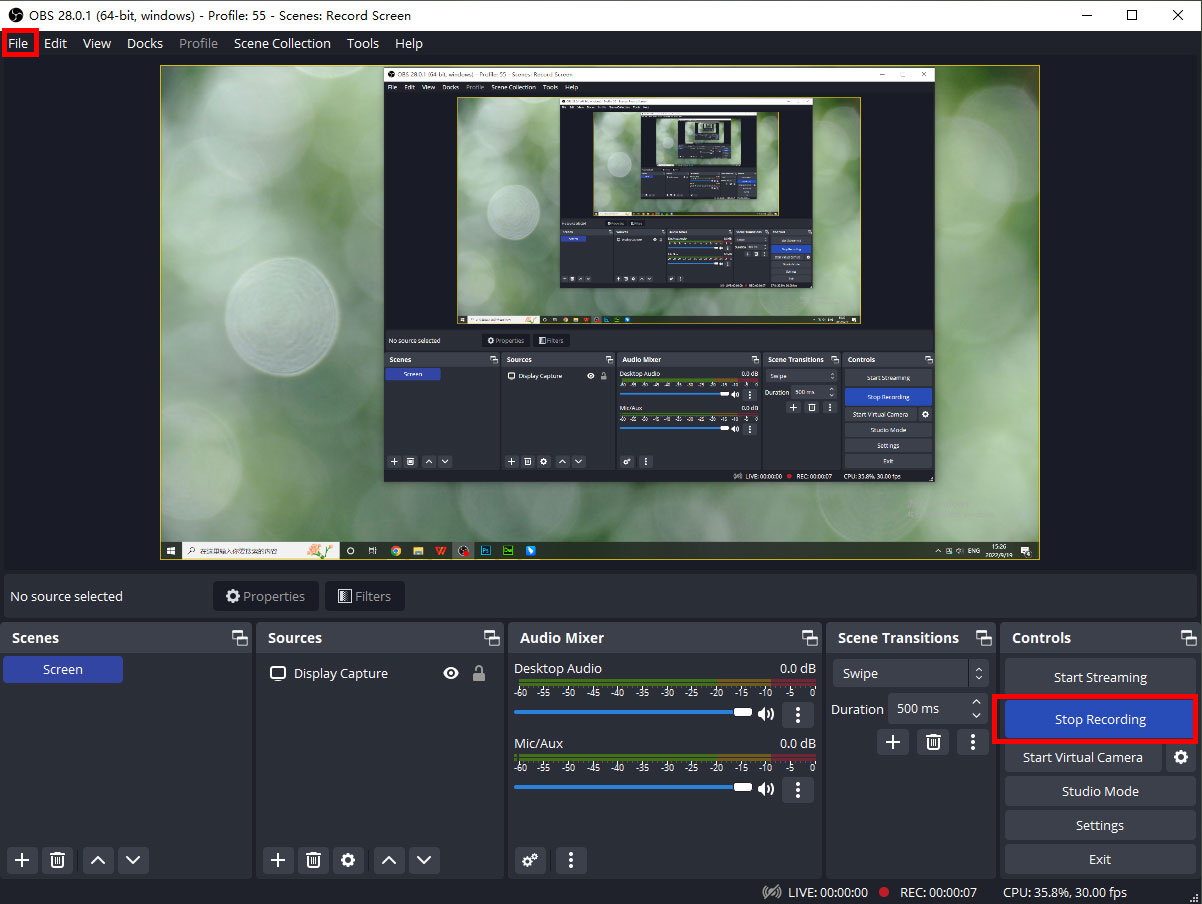
Step 3. When all is done, click on "Start Recording" to begin your webinar recording. When you finish, click on "Stop Recording". Then you can click on "File" > "Show Recordings" to check the recorded webinar video.
Note: OBS Mac version can't capture the system audio and microphone sound by default. If you need the audio sound from the webinar, first of all, you need to install a plugin that enables OBS to record system and microphone sound, such as Soundflower.
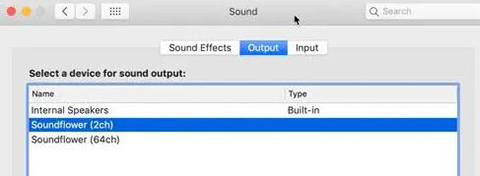
Step 1. Download Soundflower, open "System Preferences" on Mac, go to "Sound" > "Output" and click on "Soundflower(2ch)".
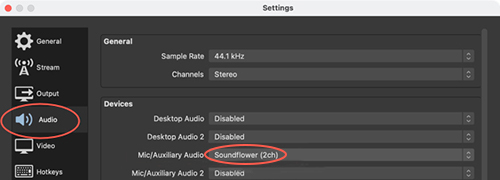
Step 2. After that, open OBS and click on "Settings" > "Audio" > "Mic/Auxiliary Audio" and choose "Soudflower(2ch)".
Now, you have successfully added the plugin to OBS, and the remaining steps are all in the above process. Please refer to it carefully and start your webinar recording.
Part 3. How to Screen Record a Webinar Online
Besides using the webinar recording software to capture webinar videos, you can still resort to the online screen recording tools.
There are many types of online recorders you can find on the internet, and here we will take Screen Capture as an instance to show you how to record a webinar video online for free. This web-based tool allows you to record all screens on your computer, including scenes from programs and browsers, as well as your webcam, system audio, and microphone. Since it's a free version, you can't remove the watermark, but a premium subscription will unlock the limit.
How to Get Webinar Recording via Free Webinar Recorder Online
Step 1. Make sure you have ready for the webinar, and access Screen Capture to enable the recording option according to your needs.
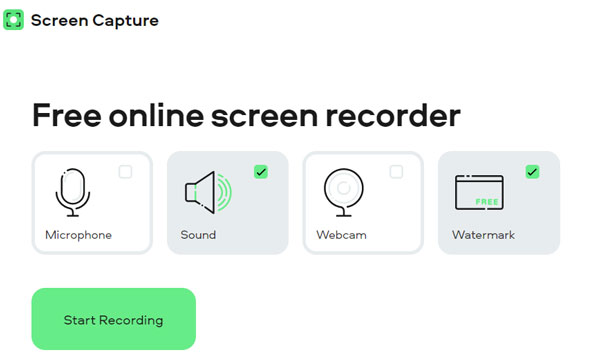
Step 2. When the webinar begins, you can hit the "Start Recording" button from Screen Capture and select the webinar source.
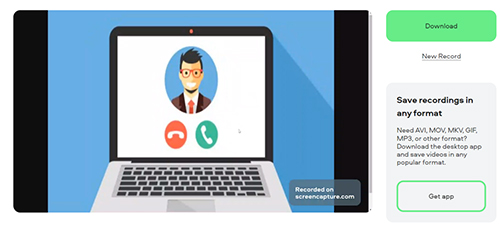
Step 3. When it ends, you can tap the "Stop Recording" button. Then the webinar recording will be played on this page, and you can click on the "Download" button to save the recorded webinar as an MP4 to your computer.
Part 4. FAQs about Recording a Webinar
Q1: How to Record a Webinar in Zoom?
Since Zoom comes with a built-in screen recorder, you are able to record the webinar in Zoom as a host. But as a participant, you will have to ask the host for permission before recording the webinar. If not, you can try TunesKit Screen Recorder or the other screen recording tool we mentioned above to capture webinar videos.
Q2: How to Record a Live Webinar?
In order to record a live webinar, you must prepare a powerful screen recorder in advance so that you can start the live webinar recording as long as it begins. You can try TunesKit Screen Recorder and set up the hotkeys to start it quickly, which won't miss any seconds in the live webinar.
Q3: How to Capture Recorded Future Webinars?
Recorded Future is dedicated to discussing significant issues and delivering profound insights. As you participate, you can use the TunesKit Screen Recorder or other recording tools to record the points you agree with to record and highlight the main points.
The Bottom Line
Now you have three options to record a webinar. TunesKit Screen Recorder will help you record and edit the webinar video and export it to different formats, while the freeware, OBS, and Screen Capture can only record webinar videos without editing options. Try them all and pick the best one to start your webinar recording. By the way, TunesKit Screen Recorder is capable of recording any screen activities on your Windows or Mac computer, such as meetings, lessons, gameplay, videos, etc.
