How to Download Vimeo Videos on Mac & Win

How to download Vimeo videos? This is a question you will ask when you don’t see a download button. Unlike most YouTube videos, Vimeo videos are more artistic and film-like, which means that they are worth watching again and again. No wonder why people want to save some of the clips from these Vimeo videos.
To download Vimeo videos, you can use some Vimeo downloaders like KeepVid and NetVideo Hunter. Or you can download Vimeo videos to your phone using a tool called online video converter. But if you just want a clip from a Vimeo video, you can simply record Vimeo videos with screen recorders. This can save you the time and work to cut and edit the whole video. What's more, screen recorders not only can record Vimeo videos but also record YouTube videos and other online videos. It is a multi-purpose tool and you will need it sometime anyway. Since there are so many guides on how to download Vimeo videos on PC, today we will share a solution to download Vimeo videos on Mac.
How to Download Vimeo Videos on Mac
Speaking of recording screen on Mac, the first reaction of most people is using QuickTime. However, QuickTime is not actually a good screen recorder as QucikTime can’t record system sound and basically has no extra features. While TunesKit Screen Recorder for Mac is perfect for the job. It has 3 recording modes, so whether you want to download only video, only audio, or both from Vimeo videos, TunesKit can do it for you. And of course, it can record both mic and system sound. The built-in video cutter, converter and time scheduler can give you many more options for the output videos. Now let’s see how to record Vimeo videos with TunesKit Screen Recorder.
TunesKit Screen Recorder Key Features
- Caputure any videos play on your desktop, such as video calls, Twitch game video, and live streams
- Record screen video and audio separately or simultaneously
- Work well as a screenshot tool, output high resolution recordings
- Convert recorded video to any format without watermark
Step 1 Choose Basic Output Settings

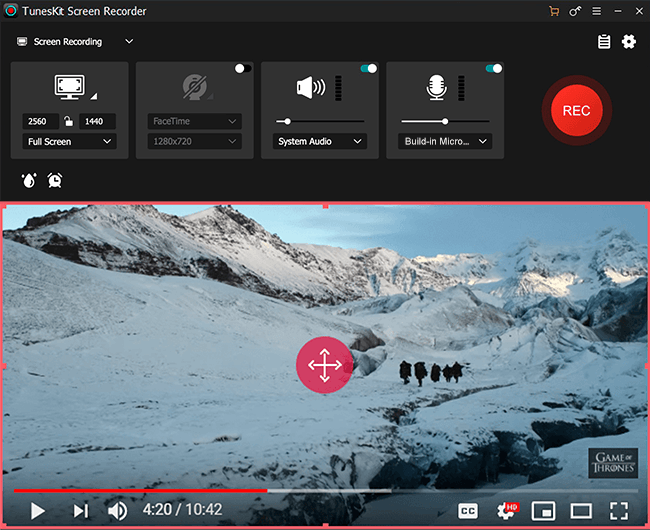
Launch TunesKit Screen Recorder on your Mac.Click the "cog" icon at the right corner to drop down the setting panel. For the basic record options, you can change the output folder and output format as you want. In the record time options, you can use the time scheduler to set a time to begin and end the recording. This feature is very useful when the video is too long.
Step 2 Customize Size and Area to Record

In step 2, click the "+" button on the left or the down arrow icon next to it. You can select the recording area using these two buttons. There are many fixed sizes for you to choose or you can customize the area by yourself. With this customizable feature, you can crop the video you want to record.
Step 3 Record Vimeo Videos

When all the settings are done, hit on the "REC" button to start recording videos. Click the "stop" button when you finish the recording. If you set the hotkey to start/stop capture, you can press the hotkey on your keyboard to finish the whole process.
Step 4 Preview and Edit the Recorded Video

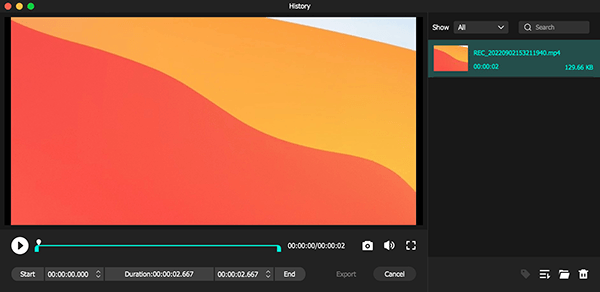
After the recording is done, you can preview the video in the built-in player. If you find that you record some unwanted part, you can click the "Edit" icon to cut out the unwanted parts with the built-in video cutter.
The Final Words
As we all know, Vimeo has a reputation for its video quality. TunesKit Screen Recorder offers 9 lossless formats and 19 general output formats. If you want to download Vimeo videos with high quality, you can choose the formats under "HD Video". TunesKit Screen Recorder also has Windows version and the free trial for both version has unlimited recording time. Just give it a try!
