How to Add Custom Watermark to Screen Recording

Nobody would like to see someone steal your video and make a fame of it - that's what watermark exists for. A good watermark is just like a trademark and it can help viewers trace the video source back to your channel wherever they see the video. Your own watermark can be a branding watermark or personal customizable watermark, in a word, it should be unique.
So, how to add watermark to video? Or more specifically speaking, how to add your own watermark to your screen recording video, such as a gameplay video or a video tutorial. The answer is obvious, use a screen recorder with the very feature. TunesKit Screen Recorder allows you to screen record without watermark and at the same time, it also provides the custom watermark feature. Now let's see how to get the hang of it.
TunesKit Screen Recorder
- Caputure any videos play on your desktop, such as video calls, Twitch game video, and live streams
- Record screen video and audio separately or simultaneously
- Work well as a screenshot tool, output high resolution recordings
- Convert recorded video to any format without watermark
How to Add Watermark to Screen Recording with TunesKit
Step 1 Change Recording Settings

After you download and install TunesKit Screen Recorder, you should set up some primary or basic settings like output format and hotkeys. When you enter the main interface, click the Cog icon at the bottom right to drop down the setting panel. You can adjust the location where you want to store the output files and change the default output format (Usually MP4) to HD formats. Use hotkeys if you don't want the toolbar appears in the recordings.
Step 2 Customize Your Own Watermark

Before you start to design your own watermark, the basic rules below will give you some instructions. First, your watermark should be unique and recognizable in case people mistake your brand for others. Second, logo image is necessary and it's better to have simple text on it so that people will know where to find you.
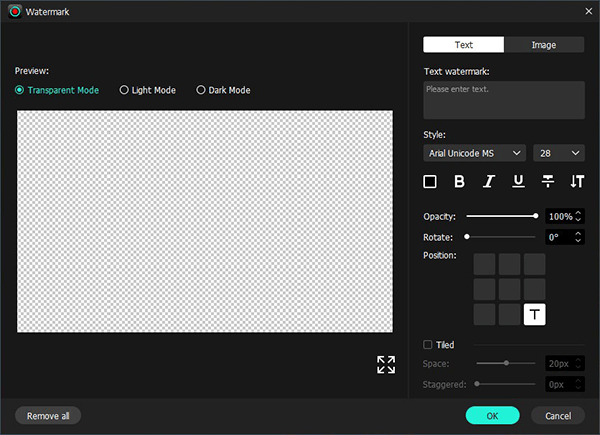
When you done with the design of the watermark, it's time to add watermark to gameplay video or video tutorial. Click the "Add image file" at the bottom left and you will be prompt to a watermark settings window. After you upload the watermark image, pick a right position for it. The size and the position of the watermark should be well considered. Make the watermark noticeable but not too much in case it blocks the video content. Change the transparency and scale can help with this.
Step 3 Select Size and Area to Record

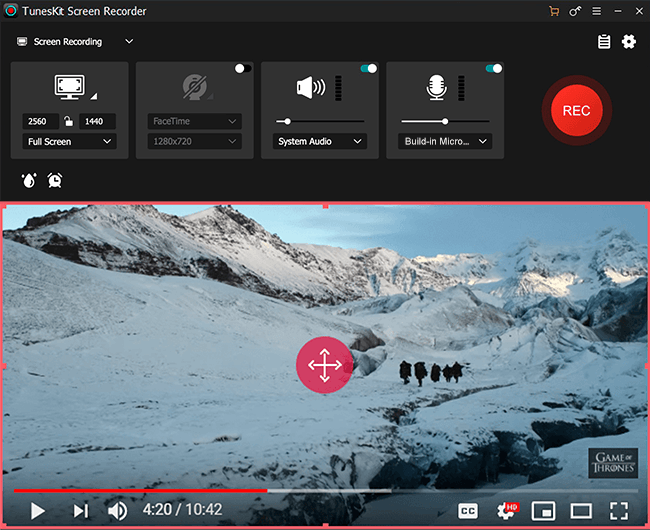
Next up, you need to choose an area of your computer screen to record. Click the down-arrow icon next to the frame button with a "+". There will be many fixed sizes for you to choose but you can also choose "Select area to record" to customize the frame. Then you can adjust the position and the size of the record window.
Step 4 Record Video with Your Custom Watermark

After you finish all the settings, click the "REC" button on the right of the main interface and begin to record your computer screen. Click the "Stop" button (the second icon from left to right) on the toolbar when you want to stop the recording. If you are recording the full screen, press the hotkey on your keyboard to stop recording will be easier. You just need to set a hotkey in Step 1. After that, a window will pop up to show you the preview of your recording and you can use the Edit feature to trim the recording.
The Bottom Line
Add watermark to video tutorial or gameplay certainly can protect your video from being copied. Screen record with TunesKit Screen Recorder will save you a lot of efforts of adding watermark after the video is done. Try it anyway.
