How to Upload Tidal Music to Google Drive
Of all the popular cloud services, Google Drive stands at the forefront and becomes the primary online storage choice of most people. Owing to its seamlessly integration with other tools and powerful search capabilities, this organizational tool enables its users to revolutionize the way they work.
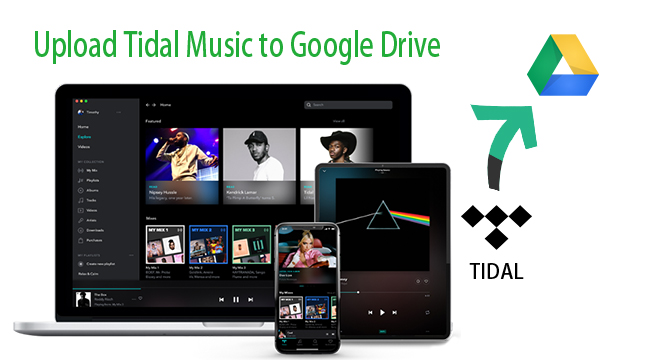
This is not only reflected in work, more and more people are willing to back up their daily life photos, music tracks and so on in Google Drive. For uploading streaming music services such as Tidal, Spotify, Apple Music and so on, you may be confronted with a lot of problems due to the DRM protection of the music tracks. Here this passage will pose you an effective method of uploading Tidal Music to Google Drive.
Best Tool to transfer Tidal Music
If you want to download Tidal Music to your local folder directly, one thing you cannot avoid is that you should remove the copyright restriction first. To successfully make it, TunesKit Audio Capture strikes out on a new path.
Different from other common music converters, this smartest audio grabber enables you to separately capture any audio the computer outputs and save the recorded music tracks in MP3, AAC, WAV, FLAC, etc. with original audio quality, which will offer you a great experience to enjoy music offline on any players and devices.
In addition, while Google Drive supports file formats as MP3, M4A, WAV, and OGG only, you can choose to export Tidal Music to MP3 to be more compatible with Google Drive.
Key Features of TunesKit Tidal Downloader
- Download unlimited number of audios from Tidal
- Convert to 6 formats like MP3, AAC, FLAC, WAV, M4A, and M4B
- Save streaming music with the original audio quality and ID3 tags
- Support the trimming, cutting and editing
Part 1. How to convert Tidal Music to MP3
Being your best assistant to convert Tidal Music, you just need a few clicks to capture the audio tracks with TunesKit Audio Capture. Here are the steps in detail.
Step 1. Install and launch TunesKit Audio Capture
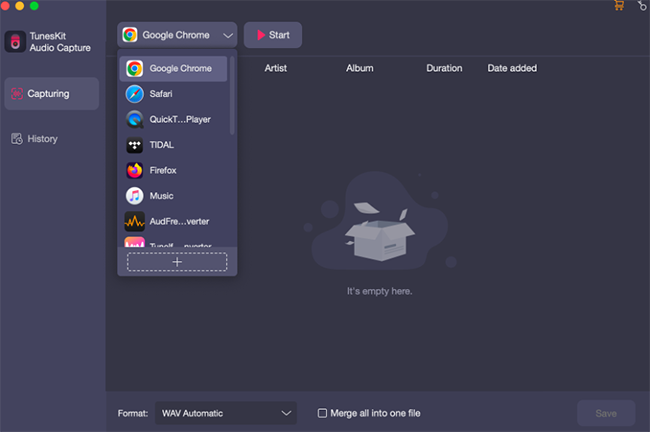
First, download and install TunesKit Audio Capture on your PC. Pay attention to downloading the suitable version for your computer. After launching, you'll see a list of programs such as Chrome, IE, iTunes, etc. and a big plus + at the end. You can either choose to click any of the browser icons to visit the Tidal website or simply tap the big plus + to add the Tidal app from the desktop.
Step 2. Customize output preferences of Tidal
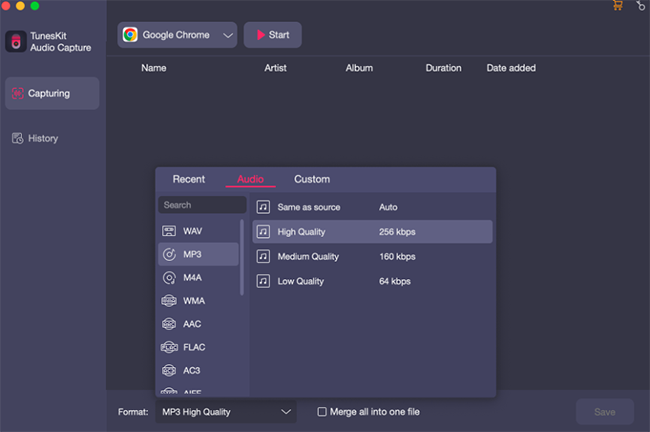
Second, what you need to do now is to adjust the output parameters. Just click the Format button at the lower right corner and you're allowed to set the format, codec, channel, sample rate and bite rate for your captured audio tracks. You can also specify your output path to easily find the recordings.
Step 3. Start to capture the Tidal Music
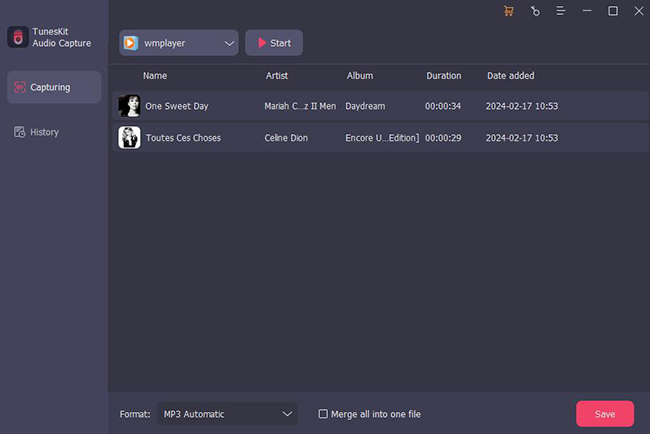
Third, now go back to the media program or browser you've just picked and select the songs you want to capture, then just start playing. When the song begins playing, the program will start recording automatically. You can find the recording tasks in TunesKit window. Moreover, this smart audio capture supports recording several tracks at the same time, which means that you can tackle other programs to play different music and it will record all sounds while saving the tracks independently.
Step 4. Split or merge recorded Tidal audio tracks
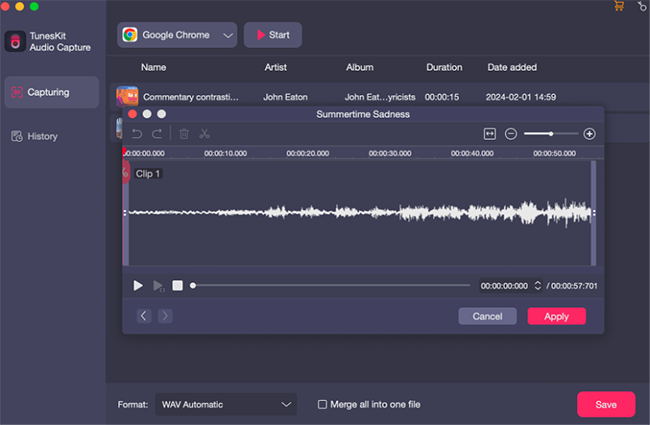
When you finished recording, this multi-track sound recording tool allows you to edit the tracks you recorded, such as trim them by length or merge different tracks into one according to your need. Besides, you can manage the ID3 Tags of the audio, including adding the cover picture, artist, music title, year, etc. for your orderly keep.
Part 2. How to move Tidal Music to Google Drive
Once the Tidal Music tracks been successfully captured, the recordings will be exported to the folder that you designated in step 2. You can now log into your Google Drive account and move downloads from tidal to google drive.
Step 1. Open a browser on your computer, and visit Google Drive official website.
Step 2. Log in your Google Drive account. If you don't have one, you can sign in a new account for free.
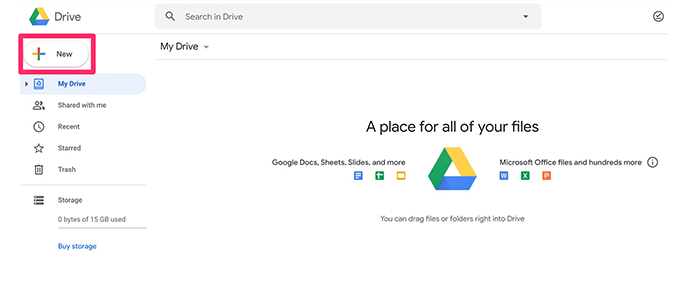
Step 3. Click the "New" button in the upper left corner and select "File Upload" or "Folder Upload". You can also drag the files or folders directly over the top of the Google Drive window.
Step 4. To play a song you've uploaded to your Google Drive, just click on the file and it'll play automatically in your browser.
With your favorite Tidal Music playlists saved forever on Google drives, there is no need for you to worry about losing them accidently and you can get access to upload unlimited Tidal Music tracks to your Google Drive for backup. Meanwhile, Google Drive offers apps for PCs, Macs, Android, iOS phones and tablets. You can sync your Google drive account on your multiple devices and play Tidal Music through the Google drive application.
