How to Record Audio on Google Slides with Ease
Google Slides is an online presentation program that allows users to create and edit slideshows online for free. As a trainer or teacher, you've probably used it many times to teach students remotely. Sometimes you may want to record audio or add sounds on Google Slides to make it more attractive and interesting.
However, there is no way to be able to record audio directly on Google Slides, you have to use a third-party application or a plug-in to record it. In this post, we’re going to show you two ways to record audio for Google Slides. Now please look at the following content and make your own Google Slides.
Part 1. How to Record Audio on Google Slides via TunesKit Audio Capture
Since users cannot record audio directly on Google Slides, the first method we come up with is to use TunesKit Audio Capture to record audio and add it on Google Slides. It is available for Windows and macOS so that you can use it to record music, radio, video, sound effect, etc. on different computer systems. It’s a perfect application for people who want to record audio losslessly and cut it to any length.
By the way, it can not only record audio on Google Slides but also capture the audio of various video files, including movies, TV shows, live streams, and streaming audio, etc. Besides, it features a simple editing tool that can let you cut, or merge the recorded audio tracks, and can auto-recognize the ID3 tags or edit them by yourself.
Key Features of TunesKit Audio Capture
- Record audio for Google Slides
- Convert audio to MP3, AAC, WAV, FLAC, etc.
- Support recording online audio or application sound
- Support multi-track recording, audio cutting and merging
- Can record audio on Windows and macOS
How to Record Audio for Google Slides
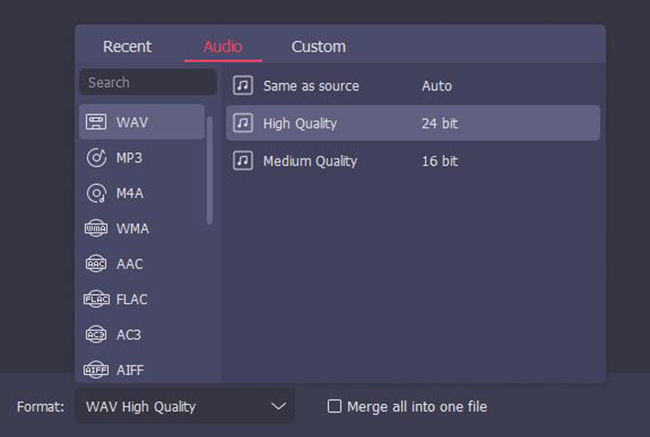
Step 1: Download and launch TunesKit Audio Capture. Click the Format button to set the recording. Google Slides supports MP3 and WAV audio formats so you can select one of them. Then click OK.
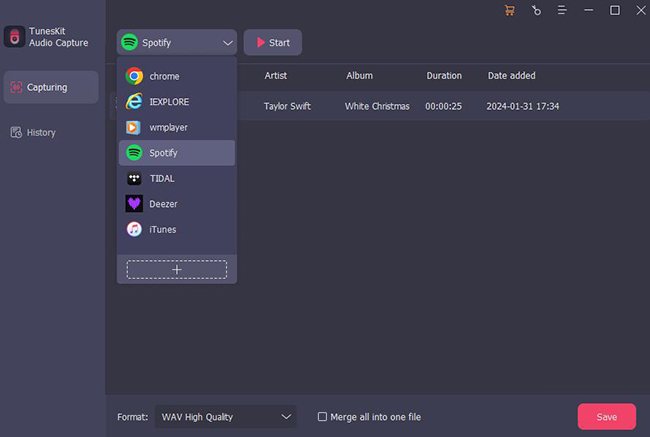
Step 2: You can see many software icons in the main interface. If the audio you want to record is in the browser or in other software, click the right icon and open it.
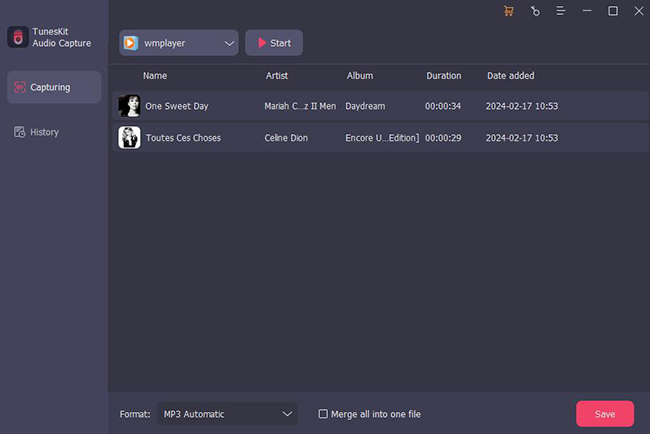
Step 3: When you find the audio, play it and TunesKit Audio Capture will auto-capture the sound as soon as possible. Click the Stop button once it ends, then the recorded audio will be in the Capture List.
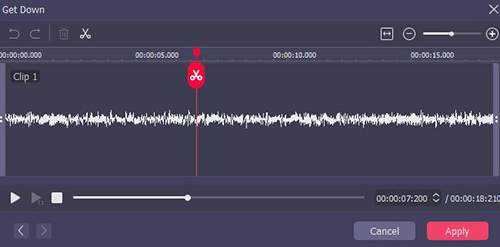
Step 4: If need editing, click the Edit button to open an editing platform. You can preview and cut the audio, and edit the ID3 tags. Once you’re done, click OK. And the new one will be in the Capture List. If you want this recorded audio, click Save, then the final sound will be in the History list.
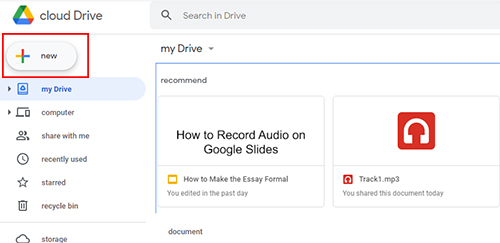
Step 5: Now click the Search button to open the folder. Next, open Google Drive, click the "+ new" icon to add the recorded audio. Next, right-click, choose Share>Change to anyone with the link>Done.
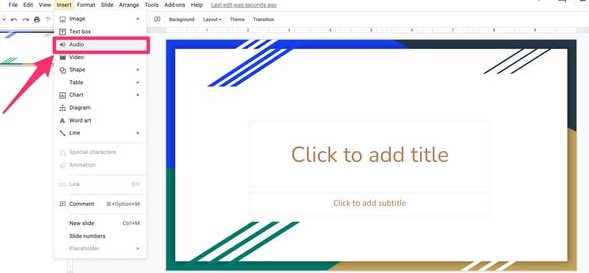
Step 6: Now back to your Google Slides, choose the particular slide you want to add the recording, click Insert>Audio, then choose the recorded sound you just added. Click it. After that, it shows an audio icon and a play bar. You can customize it as you like.
Part 2. How to Record Voice on Google Slides via Pear Deck
Another way to record audio for Google Slides is to use Pear Deck, which is a plug-in from Google Slides. Sometimes you just want to record your voice-over for your presentations rather than other music. So Pear Deck is your best choice. It is a fast and convenient plug-in that can make your Google Slides presentations more interactive. This plug-in supports all kinds of functions but today we will illustrate its audio recording function. Now let’s see.

How to Record Audio on Google Slides
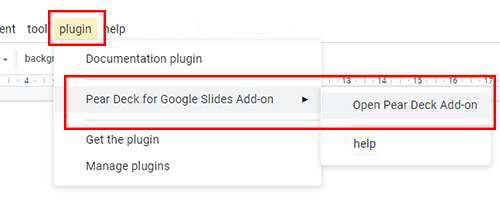
Step 1: Click plugin>Get the plugin>, then tag Pear Deck, click on Install. After that, click plugin again, and click "Open Pear Deck Add-on".
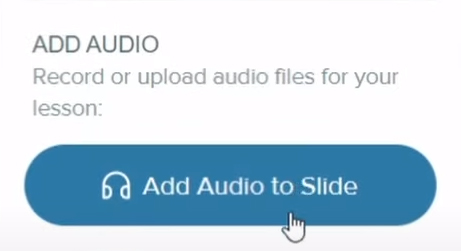
Step 2: When the program comes out, click Add Audio to Slide, then it will show a recording window, tap the RECORD button, and now you can record your voice. If you haven’t access to your microphone, click allow when prompted to do so.
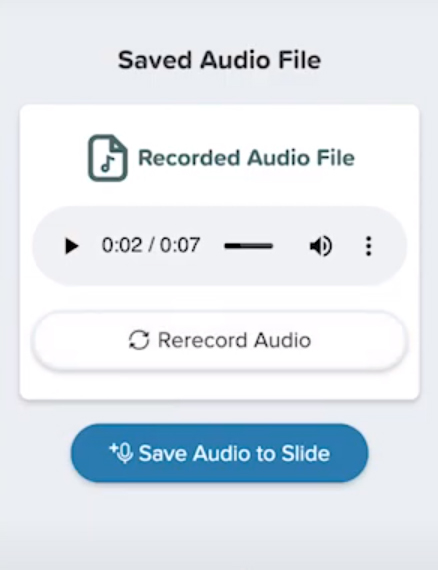
Step 3: Click the Pause button if you’ve finished recording. You will be given the option to Resume, Delete, or Done. Click Done if you want it. Then you can preview the recorded file by clicking the play button. If you are happy with your recording, click Save Audio to Slide. Then click “Add to Google Slides”.
Step 4: Once you select it, the audio icon will appear on the current slide. And now you have recorded your voice on Google Slides successfully.
Part 3. FAQs about How to Record Audio for Google Slides
Q1: What are the Differences between Google Slides and PowerPoint?
Google Slides can work easily online for free if you don’t want to download PowerPoint. PowerPoint has more functions than Google Slides such as you can record your voice or any sound directly on it.
Q2: Can Google Slides Record Audio?
You cannot record any audio or sound directly on it. But you can refer to the above methods to record audio on Google Slides.
Q3: How Do I Add a Recorded Audio File to Google Slides?
Before you add the audio recording on Google Slides, you need to upload it to your Google Drive. Then turn to the Google Slides and click Insert>Audio. It will show a Google Drive window that contains the recording. Click it and it will show in the current slide.
Part 4. Summary
It is a pity that Google Slides is not capable of recording audio directly. However, after reading the above, you will find that you can use third-party tools to record audio on Google Slides quickly. Both methods are very simple and fast. It doesn't take much time and won’t interfere with your presentation. What's more, if you use both TunesKit Audio Capture and Pear Deck, you can record not only your voice but other audio as well, making your Google Slides presentation even more distinctive and credible.
