How to Record Audio from A Website? Fixed!
The internet has given us the chance to access to various audio resource. Meanwhile, various streaming audios and videos saw the development of internet that has largely changed the way we view media and listen to music. Needless to say, we can find whatever we like to listen to or watch on the website.
If you love internet audio broadcasts, game music or any other interest audios, you probably want to capture streaming audio to listen to it again or share it with your friends. With the help of streaming audio recorder apps, recording from virtually any sound source on the website has become so easy. Here I will introduce the detailed method to record audio from browser.

What You Need – Streaming Audio Recording Software
To record streaming audio online is easier than you think. Apps that record internet streams are the most widely used tools for grabbing streaming audio. These streaming recording apps record sound from a microphone, an auxiliary input device, or even sound in a game. This is especially for recording from websites or streaming music services.
TunesKit Audio Capture will help you to capture any audio played on your computer in no time. With this smartest audio grabber, you can not only record streaming music, but also capture system audio or any other sound source. Plus, you can convert all recordings to various popular formats like MP3, AAC, WAV and more.
Key Features of TunesKit Audio Capture:
- Record streaming audio from any website
- Save all recordings to common audio formats
- Preserve audio quality and track information
- Support multi-track recording, trimming and merging
- Support various audio effects like trimming
How to Extract Audio from Website
If you have TunesKit Audio Capture installed on your computer, you can capture audio from website in a few easy steps. The below is the tutorial on how to achieve audio from website.
Step 1Launch TunesKit Audio Capture

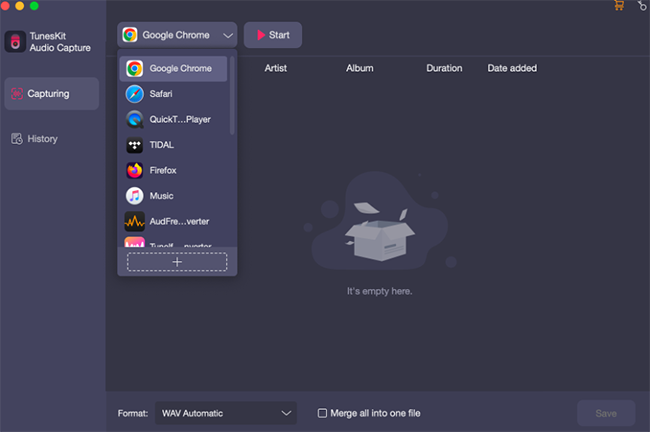
To capture streaming music or podcasts on the website, run Audio Capture. You will see some icons of programs such as Chrome, IE, iTunes and more on the opening window. If you want to record audio from other websites, you just need to add the program to the list by clicking the "+" button.
Step 2Configure All Capture Parameters

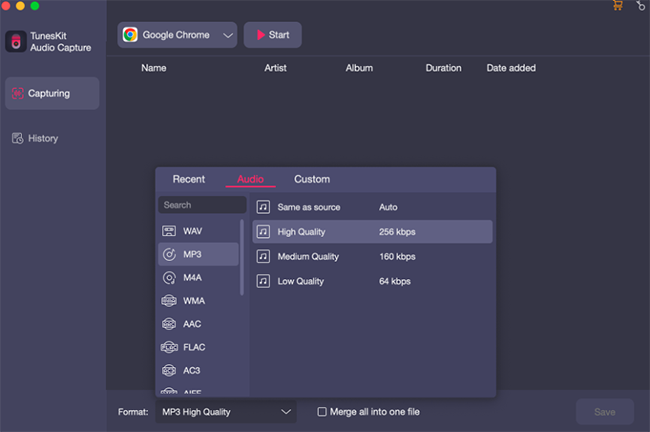
To configure the capture parameter, you need to click the icon "image" at the bottom right corner. Then you are prompted to configure the output preferences in the pop-up window. There are lots of settings like the output format, codec, channel, sample rate and bit rate for you to reset. You need to reset it according to your demand.
Step 3Start to Capture Streaming Audios

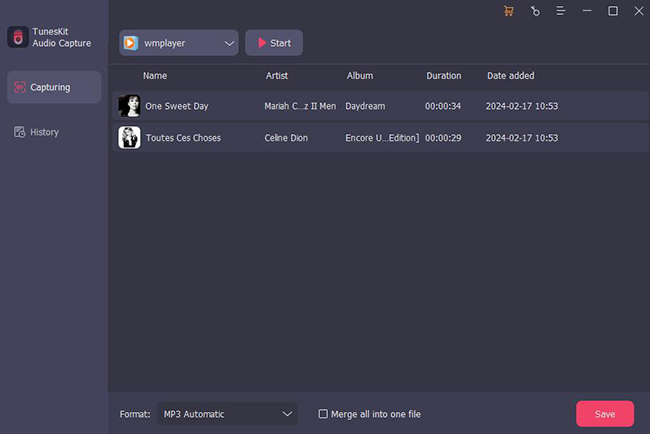
Whatever you intend to record – podcasts, music tracks, webcasts or videos from a website – will be recorded after several seconds countdown. After the full track or audio is played, you could get the audio fully recorded. Once you have recorded the desired segment, you could click the stop. Alternatively, you can switch the track to record other one.
Step 4Split Recorded Streaming Audios

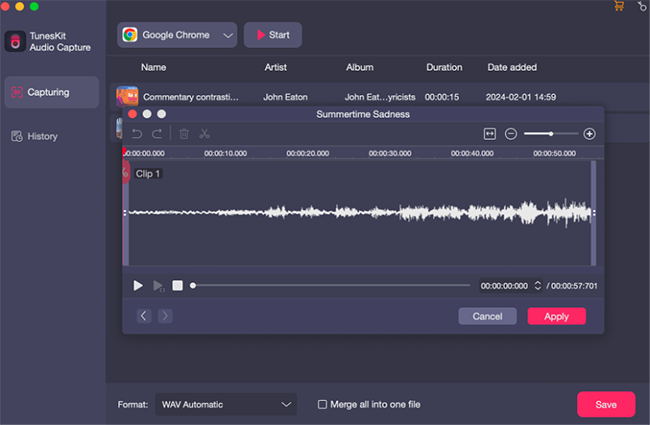
After you have finished recording, you could click the icon "image" of each track to trim the audio track by time length. You could trim one recording into several different segments or merge all recordings into one file. Besides, you can enter the values and manage the track information of all recordings manually.
With the support of TunesKit Audio Capture, you can turn some videos in to mp3s if you like the music on a YouTube video but don't want the visuals. The tool could record streaming audios from lots of streaming music service like Tidal, Google Play Music and more, as well as, all of browsers like Chrome.
