How to Transfer Music from Audiomack to SD Card
Audiomack is a widely popular music streaming platform that allows users to discover and download a vast array of songs and albums from various genres and artists. Known for its user-friendly interface and extensive music library, Audiomack has become a go-to source for music enthusiasts.
Transferring music from Audiomack to SD card enables users to listen to their favorite tracks offline, which is especially beneficial in areas with limited internet connectivity. Additionally, storing music on an SD card helps free up space on the device, ensuring it runs smoothly without any performance issues. This transfer process not only enhances the user experience but also ensures that their music collection is portable and easily accessible across different devices. In this post, we will tell you the best and most detailed tutorials to transfer music from Audiomack to SD card.
Part 1. Prerequisites for Audiomack Music Transfer
Before transferring Audiomack, there are some things you need to do first.
1. Prepare an SD Card and a Compatible Device
SD card is our destination so it is necessary to prepare an SD card. Apart from an SD card, a device that is compatible with SD card and Audiomack should be prepared in advance so that you can get Audiomack music to your SD card.
2. Make Sure the Storage Space of SD Card
Every SD card has a capacity limitation. You need to check if there is enough capacity for your Audiomack downloads.
Part 2. How to Get Music Downloads from Audiomack
Maybe you have tried to transfer downloads from Audiomack to your SD card and finally failed it. That’s because the protection mechanism Audiomack music that not allow users to transfer downloads to other places. However, it is possible to do this task in other ways like asking a third-party tool for help. This way will remove the protection from Audiomack music.
TunesKit Audio Capture is an effective third-party software to get Audiomack music downloads without limitation that allows you to transfer downloads to SD card or other devices. Actually, this software also works for audio from other streaming music platforms and websites. For different format requirements, TunesKit Audio Capture offers 10+ formats like MP3, M4A, FLAC, and AAC.
Key Features of TunesKit Audiomack Downloader
- Record unlimited number of music from Audiomack
- Convert the recorded Audiomack music to plain audio formats
- Preserve the recorded audios with the original audio quality and ID3 tags
- Support multi-track editing like cutting, trimming, merging, and splitting
How to download Audiomack songs via TunesKit Audio Capture
Step 1Prepare to get downloads
Download TunesKit Audio Capture on your computer.
To download successfully, you need to decide which platform is your music source. Here you can select Chrome as the music source to visit Audiomack website. The + icon allows you to add other audio sources to Audio Capture.
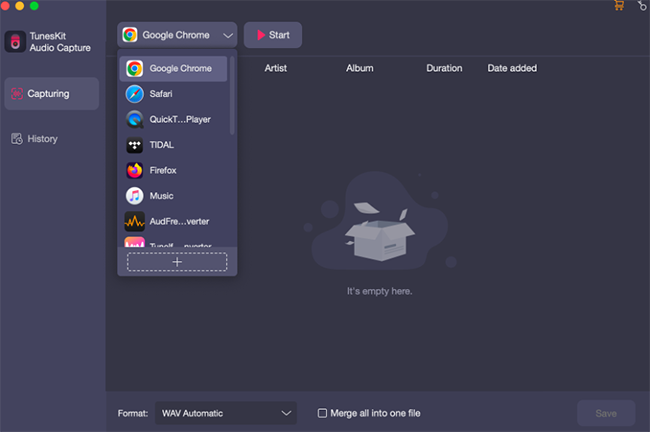
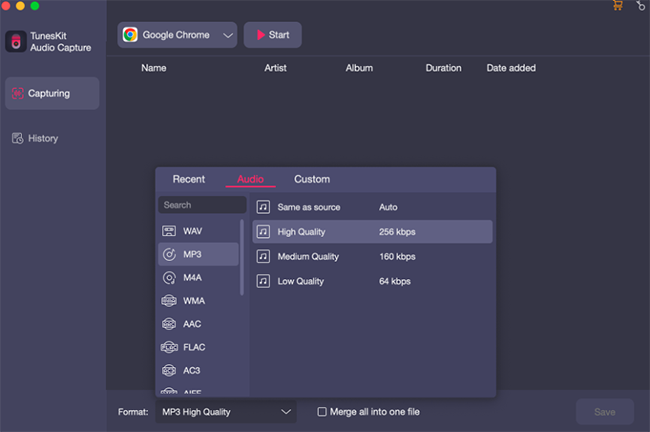
For your audio output format, you need to click the Format drop-down arrow to select your target audio format and audio quality. The Edit icon next to the audio quality allows you to adjust more details about your audio format.
Step 2Get Audiomack song downloads
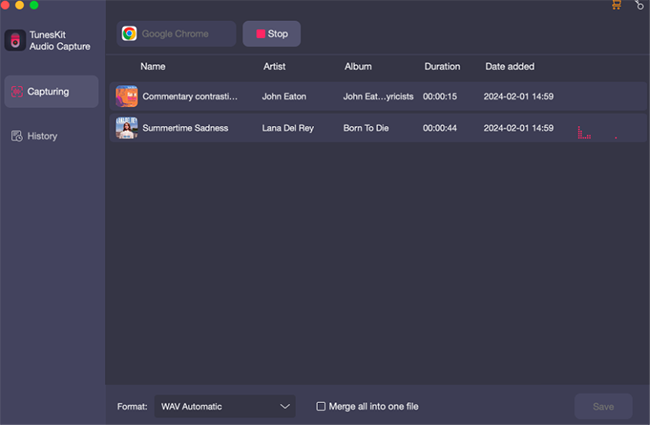
Click the Chrome icon to enter Chrome and visit Audiomack official website. Find the music you want to download to SD card and start playing it. Audio Capture will capture and download it automatically after you start playing your songs. You can stop the downloading by clicking the Stop button in Audio Capture or just stopping playing the song on Audiomack website.
Step 3Save and locate folder
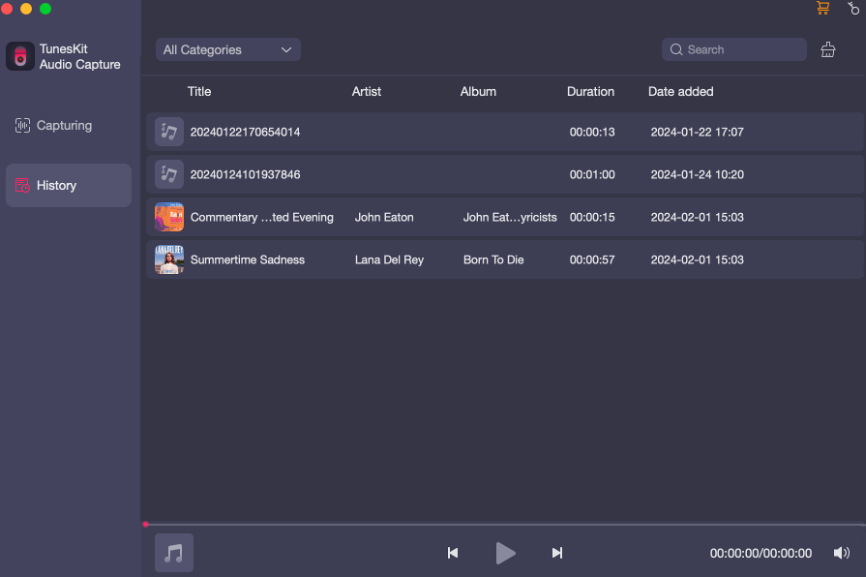
After stopping, click the Save button to end the downloading process. Those downloads from Audiomack will be saved in the History list. You can click the History button to enter it. The Open button in History list can help you find the saving folder on your computer quickly.
After downloading, you can enable Bluetooth connection from your computer to Sonos and then you can use Sonos as your PC’s speaker to play the downloaded audiobooks from Audible.
Part 3. How to Transfer Audiomack Downloads to SD Card
Method 1. Using a Computer
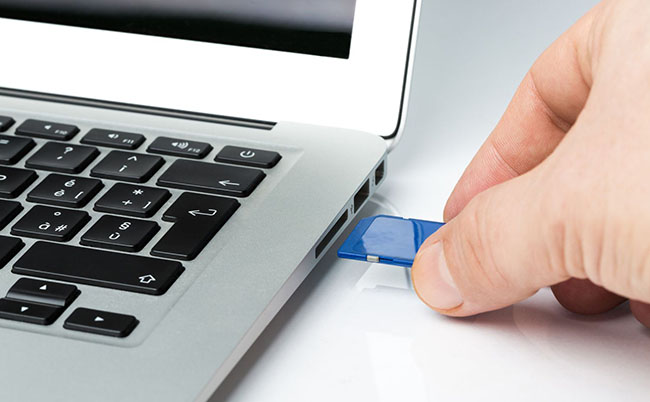
Step 1. Insert the SD card into your computer's card reader. If your computer doesn't have a built-in card reader, use an external SD card reader.
Step 2. Launch “Finder” on macOS or “My Computer” or “This PC” on Windows. It should show the SD card as a removable disk.
Step 3. Navigate to the location on your computer where the local files you want to transfer are stored.
Step 4. Choose which folders or files you wish to move. Optionally use the keyboard shortcuts Ctrl+C (Windows) or Command+C (macOS) to do a right-click and select “Copy.”
Step 5. Navigate back to the SD card drive. Right-click and choose “Paste,” or use the keyboard shortcut Ctrl+V (Windows) or Command+V (macOS).
Step 6. Once the transfer is complete, safely eject the SD card. On Windows, right-click the SD card drive and select “Eject.” On macOS, drag the SD card icon to the trash can.
Method 2. Using a Smartphone
If your computer doesn't have a built-in card reader and has no external SD card reader, you can use your smartphone to transfer music from Audiomack to SD card. But you need to transfer the downloads from computer to your phone. For Android, you just need to use a cable to transfer files while for iPhone, you need to make some differences by referring to Part 2 of this page: Audiomack Ringtone on iPhone
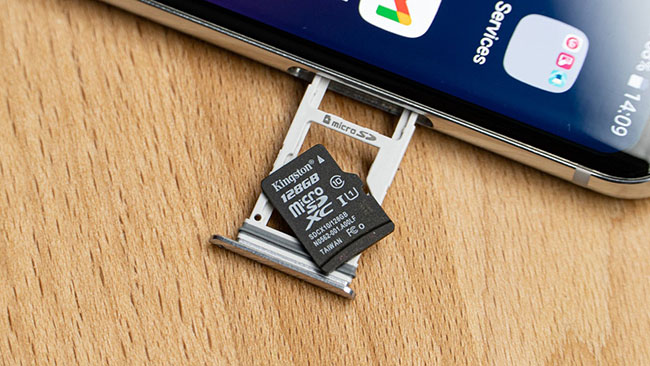
Step 1. Insert the SD card into your smartphone. Ensure the card is fitted correctly and the device detects it.
Step 2. Open the file manager app on your smartphone. Most devices come with a pre-installed file manager, but you can also download one from the app store.
Step 3. Navigate to the location on your smartphone where the local files are stored. This could be in the internal storage or a specific folder.
Step 4. Select the files or folders you want to transfer. Tap the options menu (usually three dots) and choose “Move” or “Copy.”
Step 5. Navigate to the SD card storage within the file manager. Choose the desired folder or create a new one if needed, and then tap “Paste” or “Move Here.”
Step 6. Ensure the files have been successfully transferred by checking the SD card storage.
Conclusion
From the above tutorials, you must have known how to transfer music from Audiomack to SD card. SD card gives you a way to store music and enjoy music in different devices. TunesKit Audio Capture makes it possible to transfer Audiomack streaming music to SD card. The combination of the two helps you get different music experience on different devices. You can do a good job I think.
