How to Add Apple Music to Final Cut Pro on Mac [Easy and Effective]
As we know, background music is one of the most important elements in a video and sometimes an adaptable background music can be the finishing touch of a video. Music sources are various from all kinds of music services and even created by yourself. Apple Music is one of the most popular music services for Apple users with a number of songs. However, you would have found that it seems to be impossible to add Apple Music to Final Cut Pro if you have ever tried to do this task. In this article, we bring an easy and effective method to make this task possible and you will get Apple Music download for free forever.
Part 1. Why Cannot We Import Apple Music to Final Cut Pro?
The music on Apple Music has DRM protection which limits that those songs cannot be listened to and used outside of the Apple Music app. Not only Apple Music but also other music services have the DRM protections. Therefore, it is not an easy task to add music from music services to Final Cut Pro or other video editors.
Part 2. The Format Requirements in Final Cut Pro
Before you import music to Final Cut Pro, you should make sure if your audio files have a compatible format with Final Cut Pro. The compatible import audio formats of Final Cut Pro include AAC, AIFF, BWF, CAF, MP3, RF64, and WAV. Your audio files should be one of the above formats so that you can add them to Final Cut Pro.
Part 3. How to Remove DRM from Apple Music
The key step to adding Apple Music to Final Cut Pro is to remove DRM from Apple Music. Without DRM, you can listen to and use music from Apple Music wherever you want. So how to remove DRM from Apple Music? We bring an effective tool to help you do this task.
TunesKit Audio Capture is a professional audio recorder that allows you to download all of the sounds that can be played on your computer. So it can also help you record and download Apple Music and remove its DRM protection at the same time. You will get high-quality audio and be allowed to add it to any software you want. You can also transfer it to your other devices like your phone or USB. After recording, you can also use the editing feature to trim the unnecessary audio clips. TunesKit Audio Capture offers 6 audio formats, WAV, M4A, M4B, MP3, AAC, and FLAC. So you can get the adaptable format compatible with Final Cut Pro.
Key Features of TunesKit Audio Capture
- Download YouTube video to audio with the original audio quality and ID3 tags
- Convert YouTube to MP3, AAC, MAV, FLAC, M4A, and M4B
- Record and download music from online streaming services, such as Deezer, YouTube, Pandora, etc.
- Support merging, cutting and editing YouTube downloads
How to use TunesKit Audio Capture to get Apple Music
Step 1Download and install software
TunesKit Audio Capture is a PC software compatible with Mac and Windows; so you need to download it on your computer first before you use it to get your music; you can download it by clicking the above download button or visit its official website to learn its detailed information and then download it;
Step 2Set the output format for your music
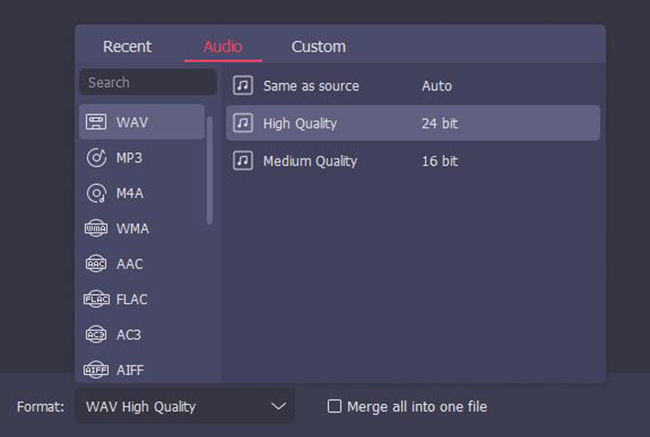
The default output format is MP3. If you need other formats, you can click the Format icon to change it; there are six options, WAV, M4A, M4B, MP3, AAC, and FLAC; among them, AAC, MP3, and WAV are compatible with Final Cut Pro;
Step 3Play and download music from Apple Music
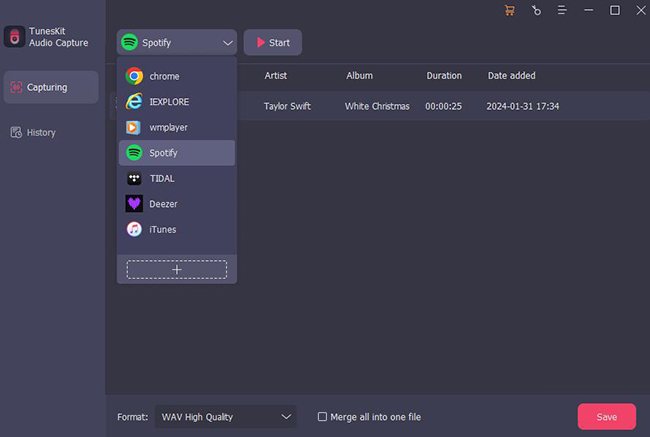
Downloading music from Apple Music needs your iTunes logging with your Apple ID on computer; click the + icon to add iTunes to Audio Capture homepage; click the iTunes icon to find the music on Apple Music and play it; Audio Capture will download it automatically;
Step 4Stop and edit
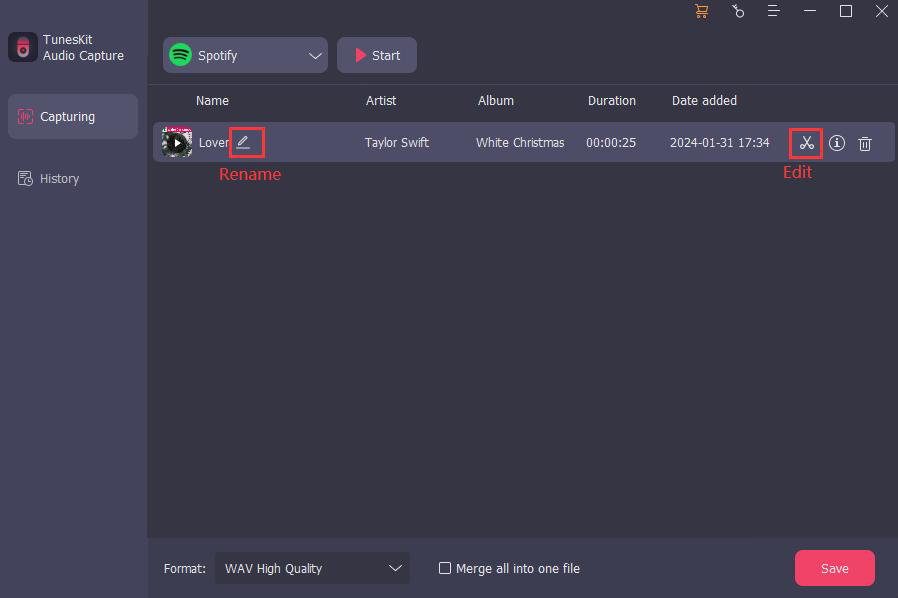
Click the Stop icon to end your downloading process; then click the Edit icon to trim those unnecessary audio clips;
Step 5Save and Search for the downloaded music
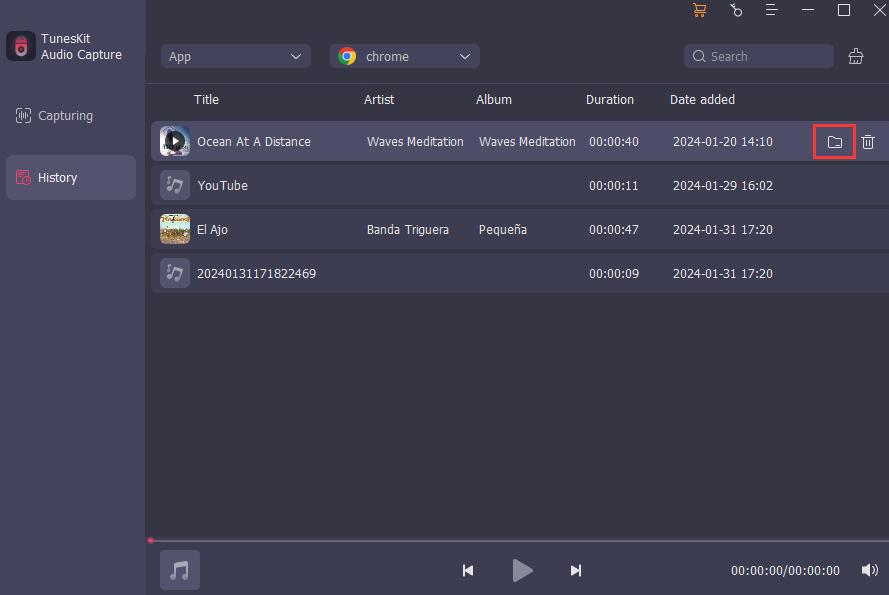
Click the Save button to save downloaded music to your computer; if you want to check them, you can click the Converted icon to enter the History list; on this list, you can find a Search icon on each file line; you can click the Search icon to locate your music quickly.
Part 4. How to Add Music from Apple Music to Final Cut Pro
After you remove DRM from Apple Music and get the downloaded music, you can add it to your Final Cut Pro software. Here is the step to do it.
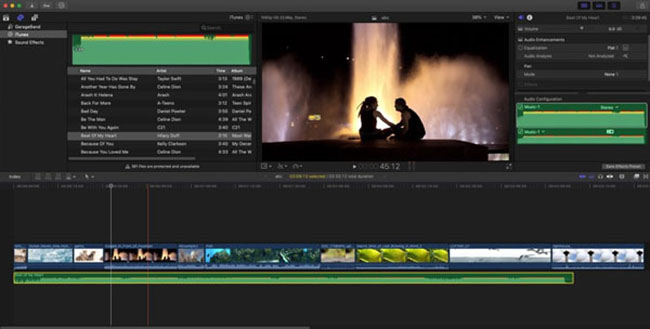
Step 1: Open the Final Cut Pro software on your Mac;
Step 2: Find the downloaded music from your computer;
Step 3: Drag and drop the music file to the timeline of Final Cut Pro.
Part 5. FAQ about Final Cut Pro
1. Is Final Cut Pro only for Mac?
Yes. Final Cut Pro is only for Mac users. Windows and Linux users cannot be able to use Final Cut Pro. If your computer is Windows, you can try to use Adobe Premiere Pro and TunesKit AceMovi.
2. Can I import music from Spotify to Final Cut Pro?
Unfortunately, you cannot do that. Like Apple Music, Spotify also has DRM protection. But you can use TunesKit Audio Capture to remove that protection and then you can add it to Final Cut Pro.
3. Is Final Cut Pro free for Apple users?
If you want to get full access to all the features and content in Final Cut Pro for iPad, you should sign up for a monthly or yearly subscription using your Apple ID. You can try Final Cut Pro for iPad free for 1 month.
Conclusion
With the help of TunesKit Audio Capture, it is not a difficult task to add Apple Music to Final Cut Pro. Apart from Final Cut Pro, you can also add those songs downloaded by Audio Capture to other video editors like CapCut. Hope this post gives you a hand in a way.
