Fix Attempting Data Recovery on iPhone (iOS 12 Supported)
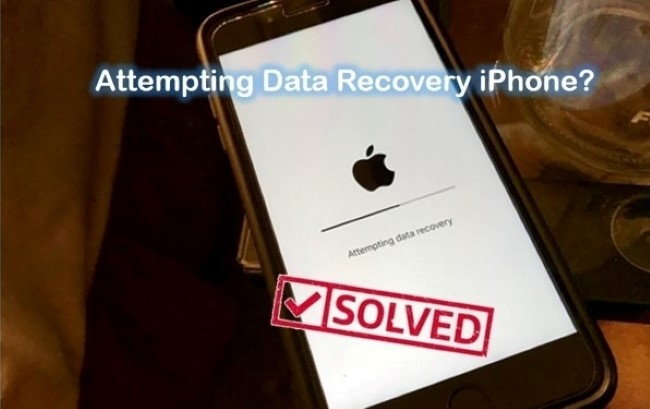
According to a number of iPhone or iPad users, the "Attempting data recovery" error occurs when they are trying to update their device to the latest iOS 12. In fact, this bug happens not only on iOS 12 but also upgrading your iOS system. Generally speaking, this prompts may probably show up when your iPhone storage is not enough. However, users owning larger space devices are also experiencing the same mistake while upgrading. This can be a disturbing as it will not only invalidate the update, but will also cause data loss issue on the iPhone to some extent.
If unfortunately your iPhone screen keeps displaying the occur during iOS update, then simply read on this post further to get feasible solutions to fix attempting data recovery on iPhone easily.
Solution 1: Press Home Button
When encountering the iPhone stuck at "Attempting data recovery" loop, the first choice is to press the Home Button and waiting until it finishes updates, which is the easiest fix to the problem. After the upgrade process is complete, your device will return to normal. But what if it does not work after waiting for a long period of time? No need to panic as we will offer other solutions in the following paragraphs to help you fix the issue.
Solution 2: Fore Restart your Device
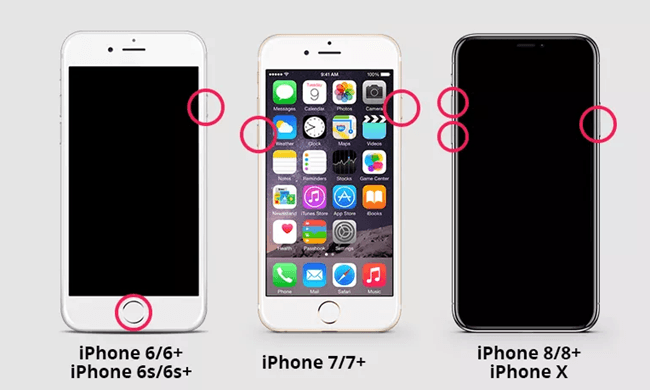
What you need to know is that a force restart is not totally the same as a normal restart. By forcing restart your iPhone, tons of different issues can be fixed such as iPhone stuck in recovery mode, white Apple logo or other screen. This operation can cut the power of your iPhone off and turn it on again. Now read the instructions below to get how to fix iPhone in attempting data recovery loop by forcing restarting on various iPhone models.
1) For iPhone X/8/8 Plus:
Press and then fast release the Volume Up button. Press and then fast release the Volume Down button. Finally press and hold the Power button until you see the Apple logo.
2) For iPhone 7/7 Plus:
Press the Power button and Volume Down button simultaneously. Then press the Power button until the Apple logo shows on the screen.
3) For iPhone 6s or earlier models:
Press the Home Button and the Power button in the mean time. Keep pressing both the 2 buttons until you see the Apple logo appears.
Solution 3: How to Recover iPhone Data If Attempting Data Recovery Fails
Although force restarting your device can helped to fix iPhone attempting data recovery, sometimes this may fail due to unknown reasons. When your device shows that the attempting data recovery progress failed and leads to another new problem which is data loss, the most urgent thing you need to do is to rescue your lost files. Things can be easier if you have created backup files on iTunes or iCloud, but as it is known to us all, all the current data will be erased replacing by the backup file you select to restore, which is not considerably advisable. At this point, relying on a third party iOS data recovery software may perfectly eliminate all your concerns. And here we highly recommend TunesKit iPhone Data Recovery for its highest data retrieval rate in various data loss cases.
TunesKit is highly rated for its fastest speed in scanning lost or deleted data. It is able to display all the current files and deleted items on your iPhone allowing you to choose whatever you want to retrieve. With over 20 types of data supported, this program can extract lost files either from the iOS device directly or from iTunes/iCloud backup. Now let's take a look at how to get back iPhone data directly without backup with TunesKit iPhone Data Recovery.
Step 1 Connect iPhone to the computer
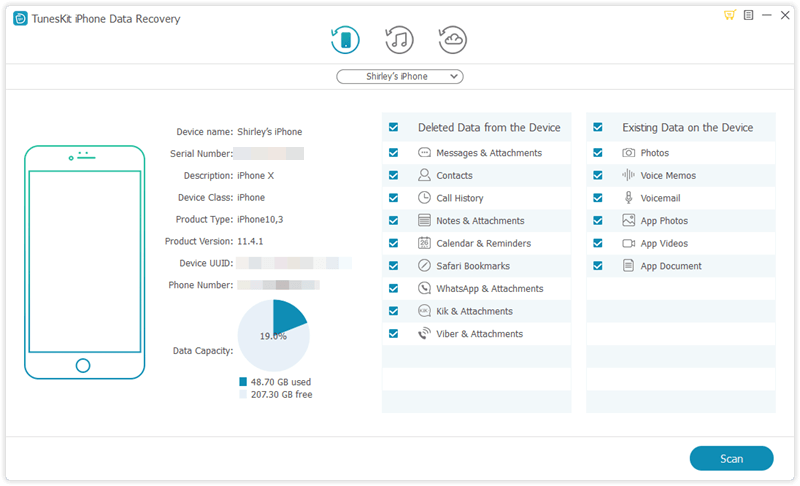
After downloading and installing the software on your PC, just open the program and set the recovery mode as "Recover from iOS" from the main interface. Then connect your iPhone to the computer with a USB cable.
Step 2Start scanning lost data
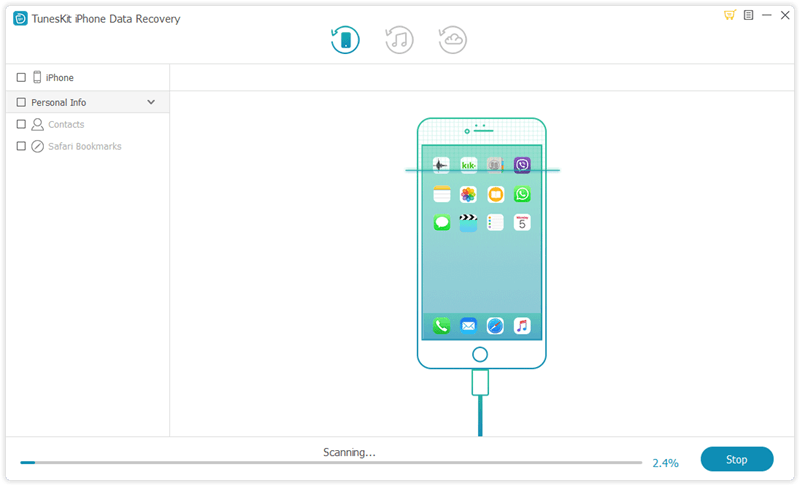
As soon as TunesKit detects your device properly, it will display all file types in the window. Choose the one you want and then click on the Scan button to let it scan all the deleted files on your iPhone.
Step 3Preview and recover deleted files
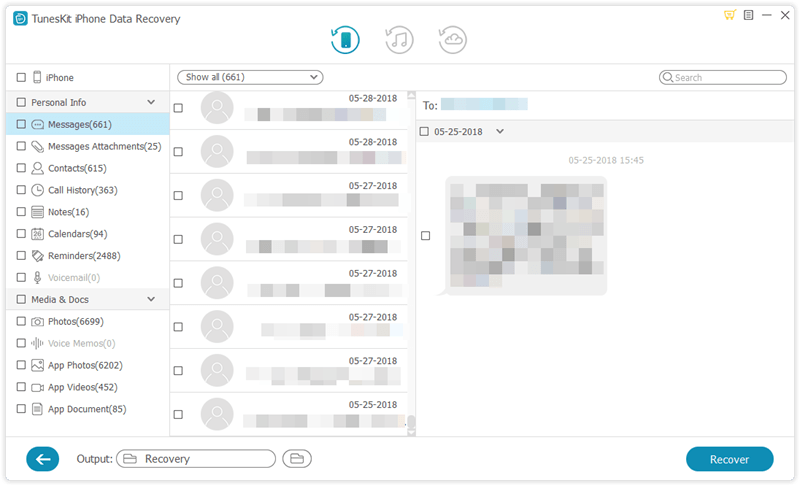
Once the scanning is done, all recoverable files will be listed in categories allowing you to view them one by one. What you need to do is simply select the target files you want and then tap on the Recover button to revert them back to your computer instantly.
The Bottom Line
A majority of users expect iOS updates, nevertheless, when the upgrading fails, the experience becomes annoying. The Attempting Data Recovery is such a problem after trying to update the device to the new iOS system. Now you can rest assure as you can find effective methods on how to fix iPhone stuck on attempting data recovery issue in this guide. Even you find out that there is some data loss from your device, the TunesKit iPhone Data Recovery software will be your best solution to recover those lost files in the shortest amount of time. So just download the recovery utility and give it a try now.
