Top 5 Ways to iPad Screenshot Not Working
Users of iPad sometimes come across the error iPad screenshot not working. There is no need to worry, though, because this error is quite common. The good news is that there are multiple ways to resolve the iPad screenshot failure, and that is what this article is going to talk about. The screenshot feature of the iPad comes in handy when you want to save an image or essential information quickly. If you are trying to capture an image and you are not able to do that, you have come to the right place. Let us check out how you can resolve this simple issue.
Solution 1: Use Screenshot Alternative – AssistiveTouch
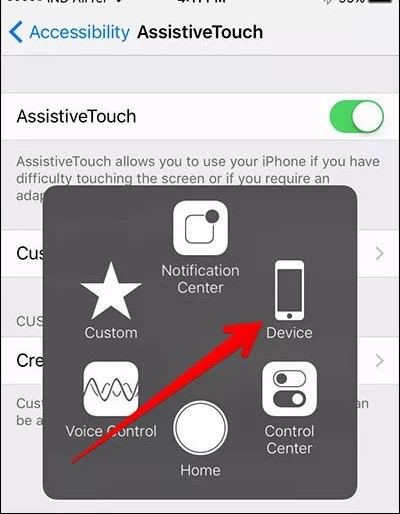
If you check your iPad, you will see the AssistiveTouch feature. This feature will let you do a few tasks easily. If you cannot take a screenshot by following the normal route, you can try enabling the AssistiveTouch. Here is what you need to do. On your iPad, go to the Settings app. Now click on the General option followed by Accessibility. After that, hit the AssistiveTouch icon. Once the AssistiveTouch circular button appears, you need to tap on the Device option first, then click on the More option with three dots, finally, click on Screenshot.
Solution 2: Take Screenshots Using 3D Touch
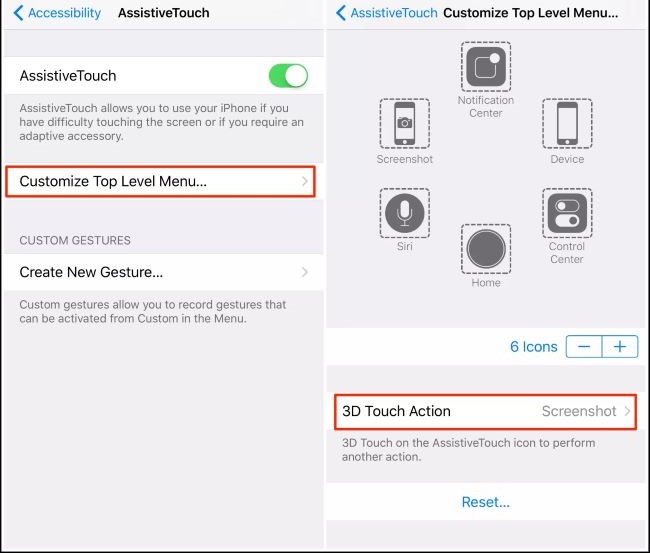
Here is another tip that you can try. It's a new way of capturing screenshots, but it should work for you. We have already shared how you can turn on the AssistiveTouch feature, follow that again. Now, now the page opens, you will have to toggle the AssistiveTouch feature, and below that, you will see the Customize Top Level Menu. Tap that, and you will see the 3D Touch Action Screenshot. Click on that, and you will be able to fix the iPad screenshot not working issue.
Solution 3: Restart Your iPad
If the above two options do not work, you should restart your iPad. This should fix the iPad screenshot not working issue. You need to press and hold the power button of your iPad for some time. You will see the slide to power off notification. Just slide to power off. Wait for around 30 seconds at least, and then turn on your device by pressing the Power button. This is what you need to do to restart your iPad.
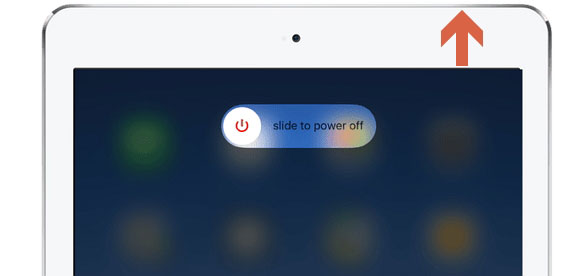
Note: As for iPad with Face ID, you need to press and hold the volume up or down button and the Power button to turn the iPad off.
Solution 4: Try Using TunesKit iOS System Recovery
Here is an extra tip that should make your iPad screenshot work properly. Sometimes because of glitches and bugs in your iPad, the device may stop taking screenshots. If all the tips mentioned above fail, there could be some technical issues with your device. In such a case, you can try downloading TunesKit iOS System Recovery and start repairing your iPad.
TunesKit iOS System Recovery is one of the best iPad/iPhone/iPod/Apple TV repairing tools. It can resolve multiple issues, such as iOS update failure, iPad boot loop, black screen, and much more. Furthermore, it will not erase your iPad data. With simple clicks, TunesKit can fix iPad screenshot not working. Now, let us see how to use TunesKit to fix the issue.
Characteristics of TunesKit iOS System Recovery:
- Fix iPad Screenshot not working without data loss
- Repair different tvOS/iOS issues at home
- Fix iOS system issues at a fast speed
- Easy to use with friendly interface
Step 1: Launch the software and connect your iPad to the computer. It would be better to use the iPad original USB cable to make the connection. Let TunesKit detect your iPad. Once done, you will have to click on the Start option. Next, there will be two options that you can follow. One is Standard Mode, and the Second is Advanced Mode. You need to select Standard Mode. This will keep your data secured.

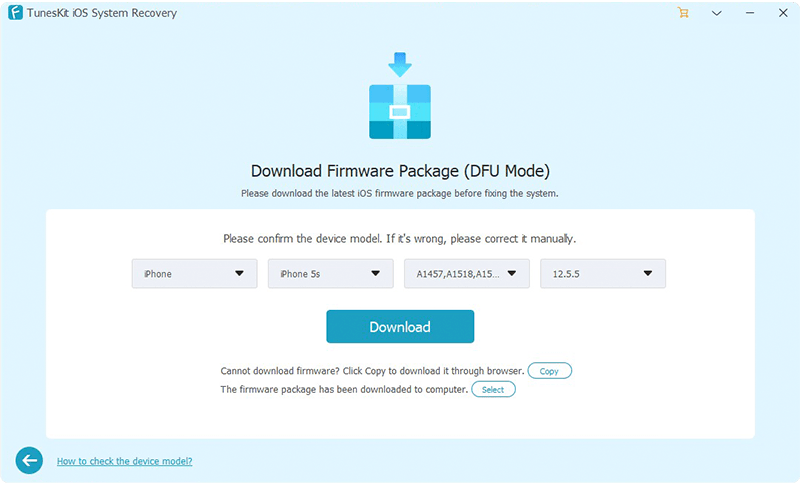
Step 2: Once you click on the Standard Mode, you will see an option to download the firmware package. You will see the information regarding your device. Cross-check everything to be 100% sure that you have connected the right device. Now click on the Download option.
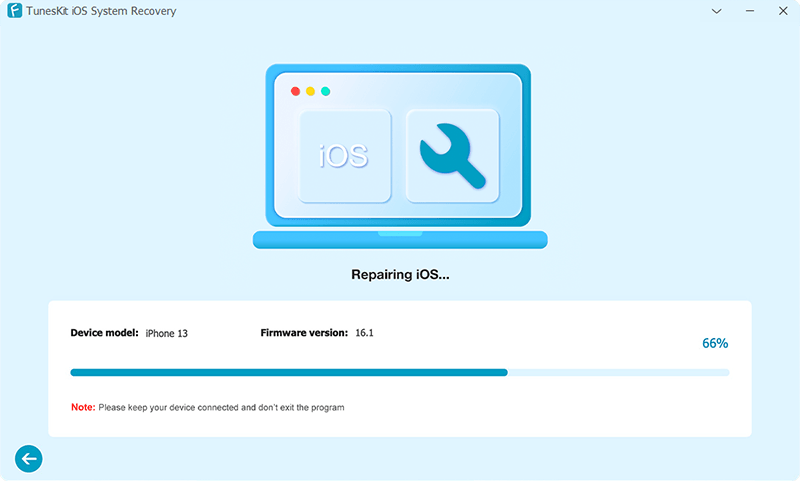
Step 3: Let the firmware get downloaded. Once done, click on the Repair option. This will begin the repairing process. Keep your device connected to the computer, else that may hamper the repairing process. Therefore, keep it connected.
Solution 5: Ensure that You Take Screenshots Correctly
Your iPad may be able to take screenshots by another method. This is the basic way to take a screenshot; however, if you are not paying attention to a few things, you may face screenshot not working on iPad. To take a screenshot, you need to press down both the Home and Power buttons together, and then quickly release the buttons until a thumbnail temporarily appears. While for iPad without the Home button, you need to press the Power and the volume up buttons at the same time. These are how you will be able to take the screenshot properly. Otherwise, the wrong operation may lock your iPad.
Conclusion
Now you know about the top five ways to fix iPad screenshot not working problem. Try all the five methods, and you will be able to take screenshots efficiently. If the basic four ways fail to work, you can try TunesKit iOS System Recovery. This easy tool repairs most of the glitches so that you can start using your device as soon as possible. Go on and try all the ways.
