iOS 17 Check In Not Working: How to Fix?
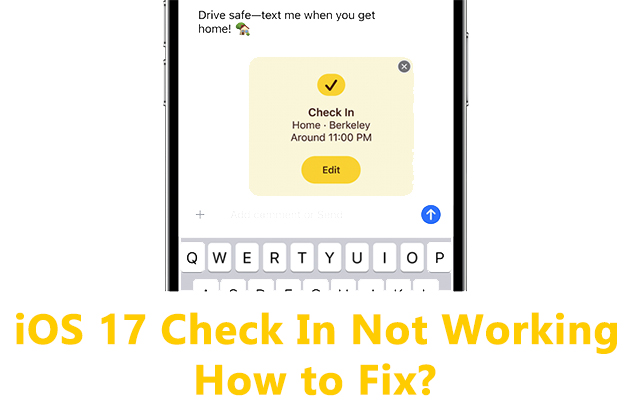
Check In is one of the iOS 17 new features released, which allows users to share arrival info with their friends or family. Arrival notifications are automatically sent to a user's family or friends once he or she has successfully reached his or her destination. And some device information, such as location, battery level and cell service status, can be synced to a contact's iPhone.
But, there are people who state that they can receive a Check In from someone else, but cannot send it to any contact. Why does it happen? How to fix iOS 17 Check In not working? By this post, you can figure out the causes as well as solutions to this issue.
Part 1: Why is iOS 17 Check In not working?
Check In is only available for iOS 17. And iOS 17 supports iPhone X and later iPhone models. Both your device and recipient's device need to be updated to iOS 17 to use Check In feature. In addition, what listed below may also cause iOS 17 Check In unavailable.
1. Location Service is disabled.
2. The network is poor.
3. iOS system bugs.
Part 2: How to fix iOS 17 Check In not working?
Solution 1: Restart iPhone
Restarting iPhone is one of the effective ways to fix iPhone problems. It can give a brief refresh to the iOS system and fix those small bugs on iPhone. If the Check In feature runs in error with no reason, this could be a great option to fix the issue.
| iPhone Models | How to Restart iPhone |
iPhone X and later iPhone |
Press and hold Side Button and Volume Up/Down buttons, then, drag off the slider. |
| iPhone 6, 7, or iPhone SE ( 2nd & 3rd gen) | Press and hold the Side Button. And drag the slider to shut down iPhone. |
iPhone SE (1st gen), 5, or earlier iPhone |
Press and hold the Top Button. And drag the "slide to power off" to close off iPhone. |
Solution 2: Check your network
The network plays a vital role in iMessage usage. If the network runs in a poor status, the Check In may be unable to work as you wish. So, you need to check your network before fixing iOS 17 check in not working. And you can switch on and off Airplane Mode, change to cellular data or fix your network with these steps.
Step 1: Go to Settings.
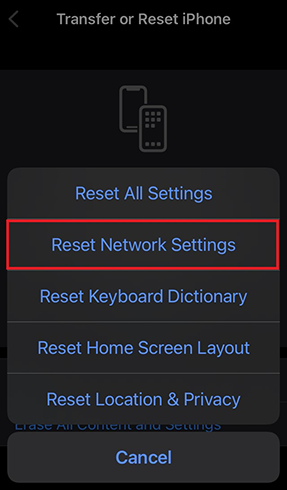
Step 2: Tap General. Swipe to the bottom on this page, and tap on Transfer or Reset iPhone.
Step 3: Click on Reset. And select Reset Network Settings.
Solution 3: Enable location service
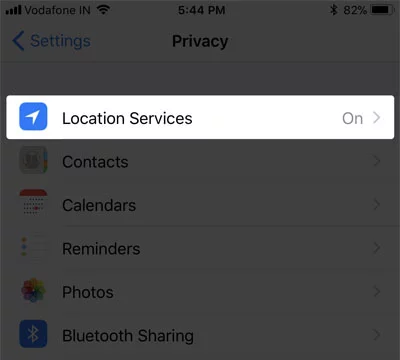
Only the location service is on can your location be tracked and sent to the recipient via Check In. Go to check if it is enabled on your iPhone with the steps posted below.
Step 1: Navigate to Settings app.
Step 2: Go to Privacy. And you can see Location Service, turn it on.
Solution 4: Fix unknown iOS bugs via TunesKit iOS System Recovery
Tried the solutions above but no dice? Here's a great tool to fix unknown bugs triggering the Check In feature not working.
TunesKit iOS System Recovery that owns the professional system repair features to fix unknown and tricky bugs on iPhone, involving up to 150 system issues. It provides an amazing repair mode without data loss. Users are able to fix iOS issues, like iOS 17 check in not working, iOS 17 unknown bugs, black screen, iPhone stuck on Apple logo, etc. And with TunesKit iOS System Recovery, you're also able to downgrade the iOS 17 to the former version. No worry about its operation, because of the TunesKit - it provides a comprehensive guide.
Key Functions of TunesKit iOS System Recovery
- Fix 150+ iOS issues on iPhone, iPad, iPod touch
- Simple interface & Easy to use
- High success rate & Unlimited usage within validity period.
- Compatible with the latest iOS 17 Beta
Let's take a closer look at how to fix those iOS 17 bugs on iPhone via TunesKit iOS System Recovery.
Step 1: Connect iPhone
After TunesKit iOS System Recovery is launched on your computer, you should connect your iPhone to the PC properly, and ensure its connection is stable in this whole process. When it gets ready, click iOS System Repair. Then, select the problem type and click Start to continue.

Step 2: Select repair mode
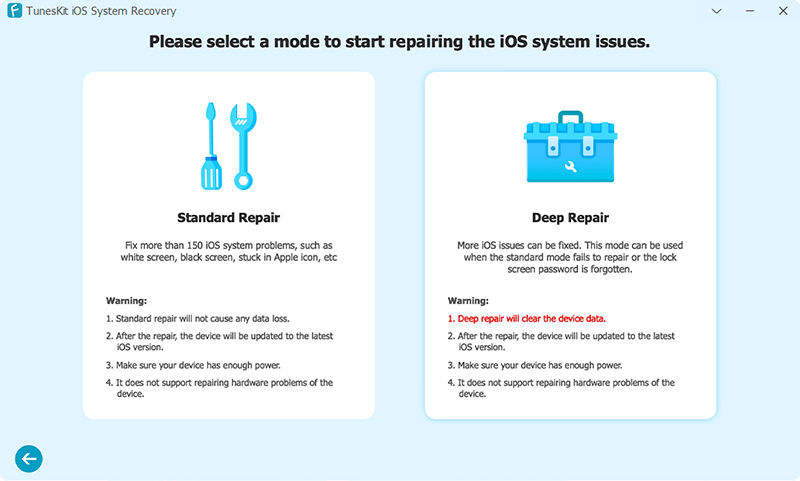
To help you handle the iOS 17 Check In unavailable with no data loss, Standard Repair is recommended first. If you fail to repair Check In feature in this repair mode, you need to back up your iPhone and go to select Deep Repair.
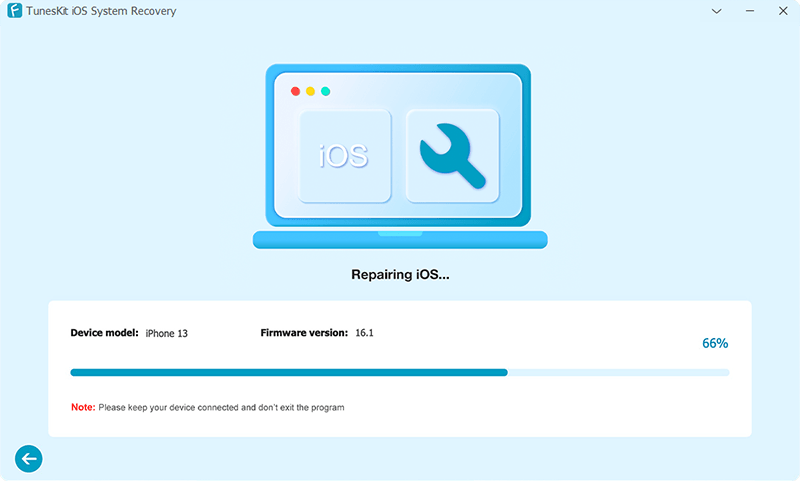
Step 3: Start to repair
Your iPhone's info, like the iOS version, iPhone model, is already detected by TunesKit iOS System Recovery. Check them carefully. Next, click the Download button to get the firmware package, and wait for its verification. After that, click the Repair button. It will start fixing bugs.
Part 3: FQA about iOS 17
How to delete the iOS 17 beta on iPhone?
You can delete the iOS 17 beta by navigating to Settings > General > VPN & Device Management > Profile > Remove Profile. Or restore iPhone via iTunes. In addition, you can also use the TunesKit iOS System Recovery to downgrade the iOS 17 to the former version.
Which iPhone models can upgrade to the iOS 17?
If you're the iPhone 14 Series, iPhone 13 Series, iPhone 12 Series, iPhone 11 Series, iPhone XR Series, and iPhone SE (2nd gen and later) user, you can upgrade your iOS version to the iOS 17 (beta), and other iPhone users are not available for the iOS 17.
Part 4: Conclusion
iOS 17 Check In not working are mostly likely caused by the iOS bugs. To fix it, you can fix those unknown iOS bugs through restarting iPhone or using TunesKit iOS System Recovery. Still have any questions about the tool? Feel free to contact us!
