Dropped iPhone Won't Turn on? Try These Effective Solutions
"My iPhone fell on the ground and now it doesn't turn on. When I plug it in, the Apple logo pops off and repeats. I tried to press both the home and reset button but nothing worked. Does anybody have the same problem? Do you know what else I can do? I reeeeally don't want to buy a new phone."
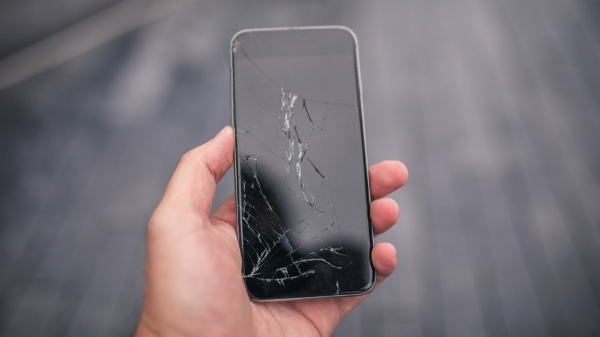
There are many issues you may face when using your iOS device and you can fix most of them with ease, but when you accidentally drop your phone resulting in not being able to turn it on, many people will be at a loss. Some users will try to turn their iPhone on and off in a panic, but when they see nothing but a black screen on their iPhone, they will take a big hit. However, the fact is that it doesn't necessarily mean your phone is broken.
It is not rare to see numerous users posting about the problems like their iPhone silent switch not working, stuck on Apple logo, etc. On a positive note, we can say that you can fix most iPhone issues with ease if you know the right process to do so. Go through this post to know about how to fix dropped iPhone won't turn on along with its most suitable solutions.
Part 1: Why My iPhone Won't Turn on?
Before we jump into fixing the issue, you should clearly understand the reason why your dropped iPhone won't turn on. It is because either the software crashed and needs to be reset or restored, or a hardware problem is stopping your iPhone from turning on.
So, you must determine whether the hardware or software problem is to blame so that you can adopt a more targeted approach. Software crashes are much easier to troubleshoot, so that's where we start from. However, if that doesn't work, the problem could be with on your hardware. Head down below and try the listed methods.
Part 2: How to Fix Dropped iPhone Won't Turn on?
Solution 1: Charge Your Battery
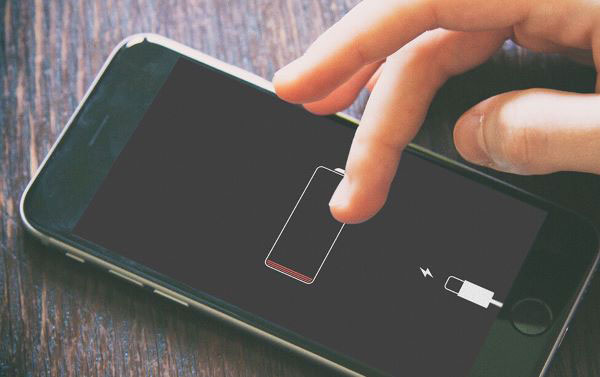
Make sure your phone gets enough power to start by plugging your charger in and waiting for around 40 minutes. Patiently try testing two different chargers to rule out cable issues, as well. Waiting for this length of time, and try turning it on. Some iPhones may no longer charge by a wall charger, but it works when connected to a computer, so try both of them.
Solution 2: Perform the Forced Restart on iPhone
If this is just a problem caused by a firmware crash, then a forced restart will surely resolve it. A forced reboot simulates battery removal, flushing your device's memory and reloading its applications and services. That is always the effective solution to problems pertaining about iPhone that would no longer turn on.
This is how you do it on your iPhone:
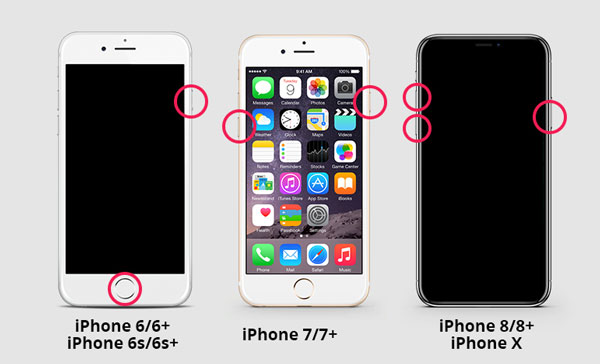
On iPhone 6S and earlier,
· Press the Power button and Home button until you see the Apple logo.
On iPhone 7/ 7 Plus,
· Simultaneously hold the Power button and Volume Down button for at least 10 seconds, release them until the Apple logo flashes.
On iPhone 8/ 8 Plus, iPhone X or later,
· Quickly press and release the Volume Up button, followed by the Volume Down button.
· The moment you release the Volume Down button, hold the Side button until the Apple logo shows on the screen.
Solution 3: Put Your iPhone in DFU Mode
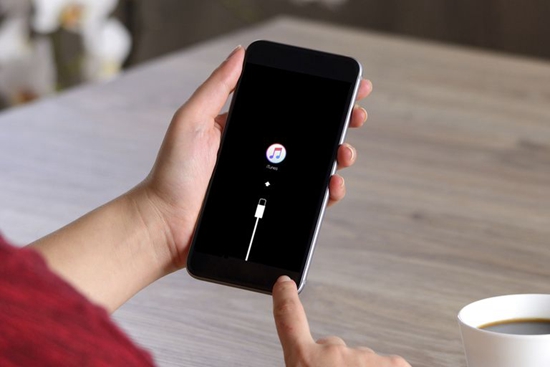
Performing a DFU mode restore is another troubleshooting step you can take to rule out the software problem on your iPhone. That might be helpful if the problem is due to bad programming changes, for it will allow the phone to reinstall the default firmware for the hardware and restore the software to its default state.
Follow the step-by-step DFU restore guide below:
Step 1. Connect your iPhone to a computer using the USB or Lightning cable that comes with it.
Step 2. Open iTunes on your computer.
Step 3. Turn off your iPhone as you normally do.
Step 4. Press and hold the Side/ Power button for about 3 seconds. Then, press and hold the Volume Down button (Home button for iPhone 6 and earlier) while still holding down the Side button. Do this for 10 seconds.
Note: If you see the Apple logo, it means that you have held the buttons for too long. You need to go back from the beginning. Otherwise, skip to the next step.
Step 5. Release the Side button but continue to hold down the Volume Down button for about 5 seconds more. If the screen goes black, it means you are successfully in DFU mode.
iTunes should tell you that it has detected the device. Follow the instructions on the screen to restore the device. Ideally, once you do that, iTunes/Finder should prompt you to restore the iPhone.
Solution 4: Professional iOS System Recovery Tool Would Be Necessary [100% Lossless]
If the error continues, a more professional tool could be the elixir of the issue. As a last resort, your device might be due for a repair by TunesKit iOS System Recovery.
If you want to fix dropped iPhone won't turn on the issue and prevent data loss, we highly recommend using TunesKit iOS System Recovery program to fix it, it not only can deeply repair troublesome iPhone issue, for instance, iPhone stuck at Apple logo, blue screen or recovery mode, but it also compatible with iPhone/iPad/iPod touch/Apple TV. Lots of iPhone users put their minds at ease when they go for this option. So, it is real trustworthy.
Following the steps mentioned below will be free of any issues that bring you back to a normal phone.
Step 1Download and Run TunesKit Tool
Connect your iDevice to a computer via USB. After connecting successfully, click the Start button proceed to the next step.

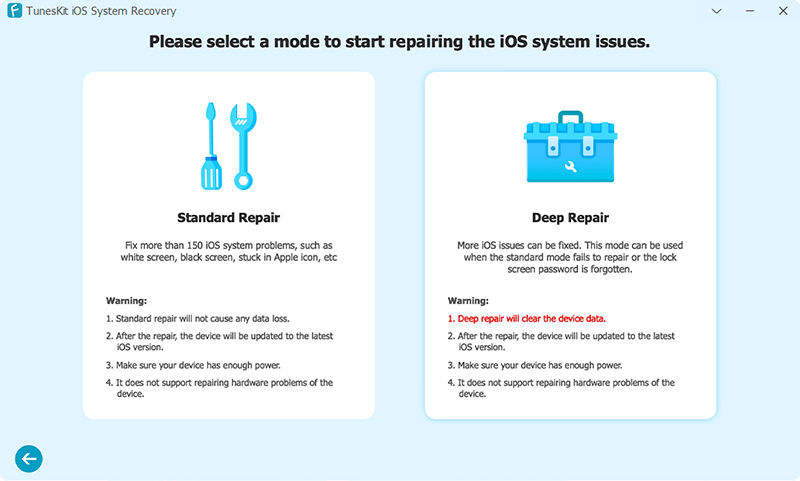
Step 2Choose Standard Mode
Standard Mode can address the typical iOS issue, most importantly, your data will not be damaged.
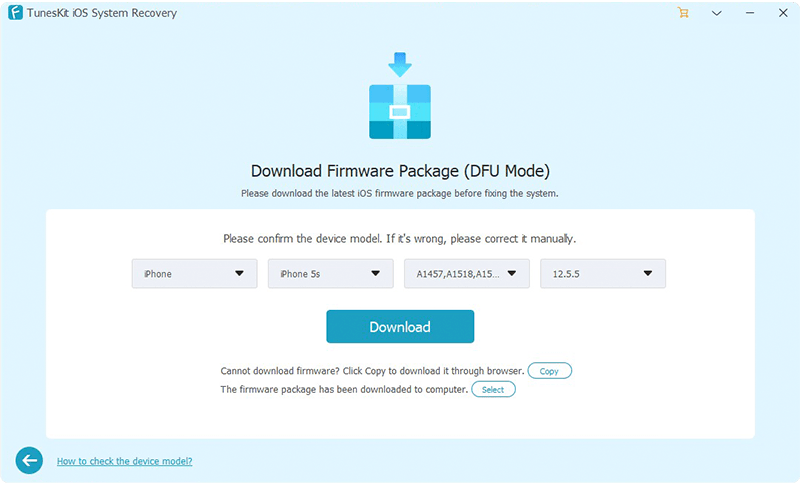
Step 3Download Firmware Package
The program will detect your device, then check the information and confirm. If it reads incorrectly, please choose the right one and click the Download button.
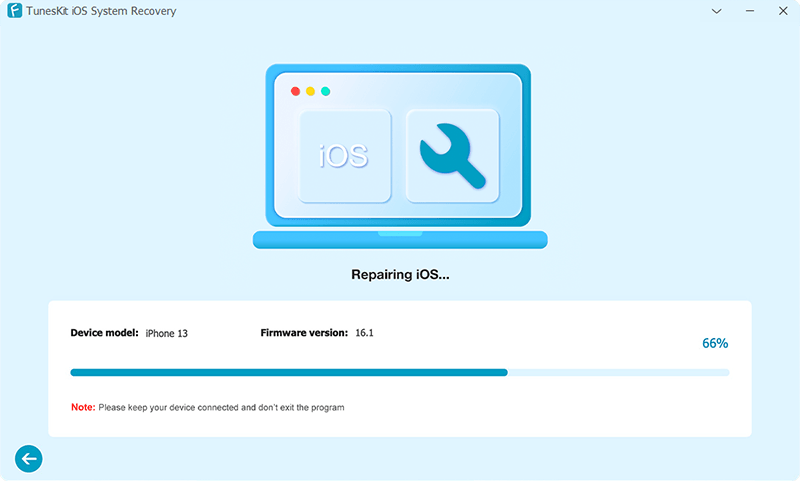
Step 4Start Fixing Dropped iPhone Won't Turn on
After the firmware is downloaded completely, click the Repair button it will automatically repair your iPhone. It takes some time, make sure to keep the device always connecting to your computer during the repair.
Part 3: Summary
I hereby conclude some ways that fixing dropped iPhone won't turn on. TunesKit iOS System Recovery handles this situation in a more professional and convenient. This helps us in time-consuming and hassle-free. I am sure this guide would help you save your damaged phone in simple steps. If you still find it tough to recover, feel free to tell me in the Comments with your detailed issues, I will try my best to help you out.
