How to Use Genmoji in iOS 18 [Latest]
Genmoji is easily one of the most inspiring and most awaited features of iOS 18. With Genmoji, you've got the opportunity to produce custom emojis in real time that suit your preferences.
Apple also brings in the on-device processing and intelligence feature in the Genmoji that stimulates creating the Genmoji without asking you to express your feelings. If you're also excited about Genmoji iOS 18, dive into this guide to learn how to use Genmoji iOS 18.
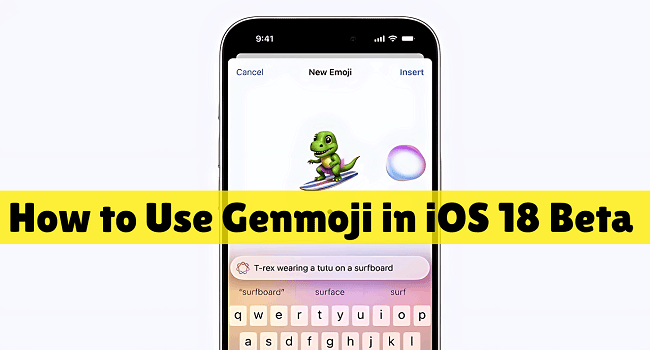
Part 1. What is Genmoji iOS 18 and how it works?
Genmoji is an AI powered feature present in Apple devices that helps the iOS users to produce new emojis characters courtesy of the text input.
The thing that makes the Genmoji so unique and creative is that Apple came up with an API that makes the Genmoji operate like emojis or Memoji. Developers also hold the opportunity to integrate your Genmoji into the apps thanks to the NSAdaptiveimageGlyph API. To enhance the users' experience, Apple prompts the keyboard characters like Genmoji emojis, stickers, Memoji, and Unicode characters.
Part 2. How to use Genmoji in iOS 18 step by step?
Knowing how to use Genmoji iOS 18 is effortless as you can look at the guide below to learn how to access Genmoji.
Step 1: Launch the Messages before starting the new message.
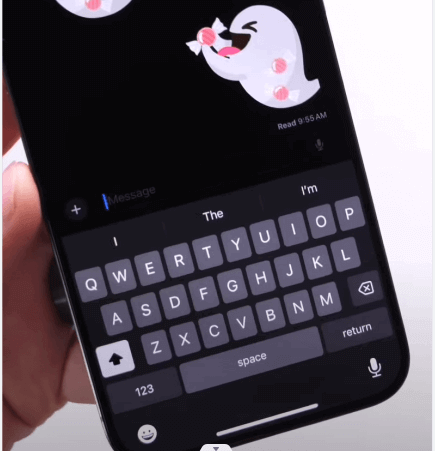
Step 2: Access the Emoji keyboard by selecting the emoji icon.
![]()
Step 3: In this phase, you'll need to locate the Genmoji tab.
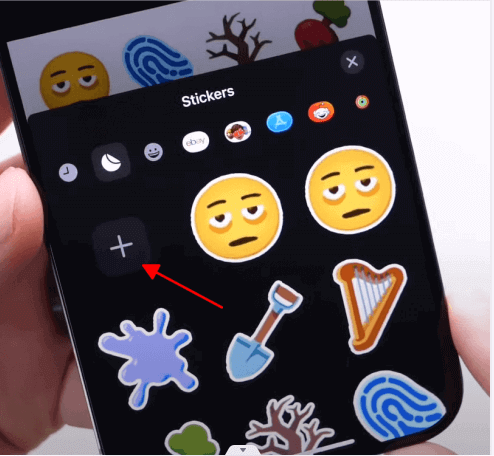
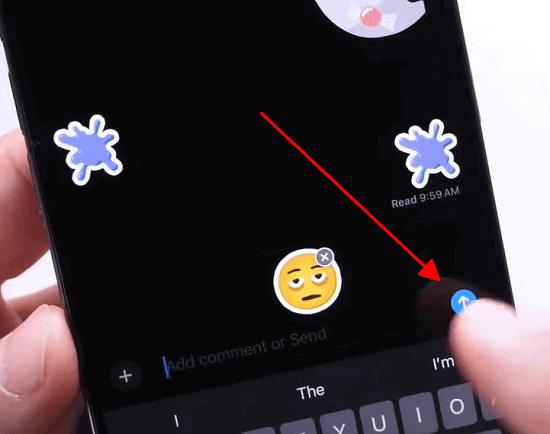
Step 4: Type in the text you wish to create the Emoji about and click on the button to create the emojis.
Part 3. What to do if Apple iOS 18 Genmoji not working?
It's common to meet some issues when using iOS 18 new feature Genmoji. It may not be stable as it's newly developed by Apple. Next, I'll show you 4 effective ways to fix your Genmoji not working problem.
Method 1. Update iPhone
If you're unable to access the Genmoji on your iOS device, it could have happened that you didn't install the new iOS update. Hence, whenever this type of an issue pops up, installing the new iOS update is most recommended.
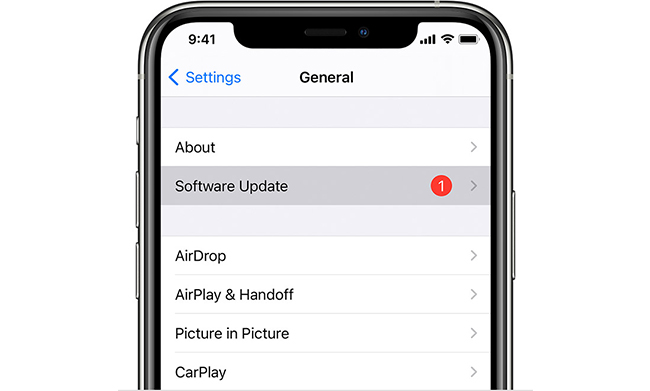
Step 1: Open the Settings app on the iOS device, then tap the General button.
Step 2: Select the Software Update button before choosing the Download and Install icon to get the new version of iOS 18 installed.
Method 2. Check the compatibility
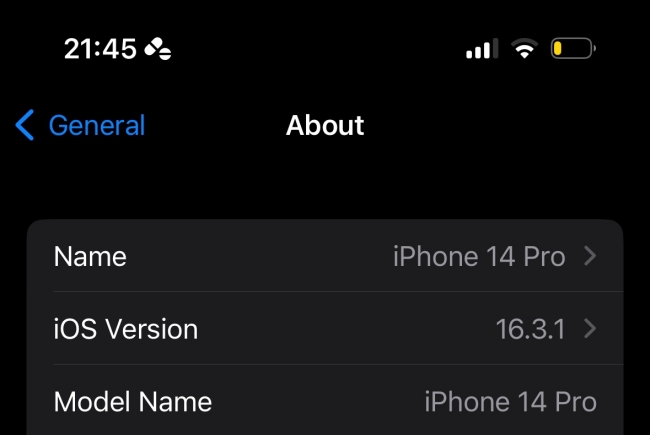
Since the Apple intelligence features are only compatible with the iOS Phone 15 Pro or iPhone 15 Pro Max, people having the iOS models less than the iPhone 15 won't be able to explore the Genmoji iOS 18. If you aren't using the iOS device models mentioned above, you must upgrade your iPhone to access the Genmoji. You can go to the Settings > General > About to check your model and iOS version.
Method 3. Restart iPhone
Despite updating the iOS device if the Genmoji doesn't work on your iOS device, restarting the iPhone to eliminate the software bugs is an appropriate idea.
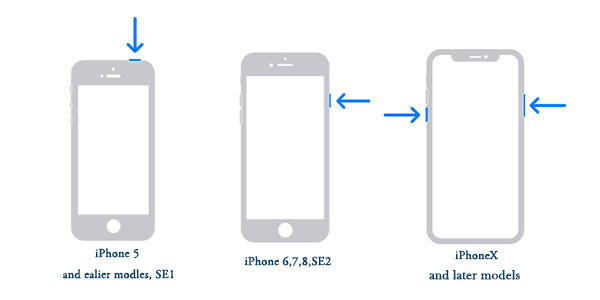
Restart iPhone X and Later: Press and hold either the Side or Volume button until you see the power off slider. Drag the slider to the right side and then off the device. Switch on the device again by pressing and holding the Side button until the Apple logo appears.
Restart iPhone 6, 7, 8 or SE: Press and hold the iPhone's Side button until the power off slider displays. Slide the slider to the right to turn off the device, and then press and hold the Side button to turn it back on.
Restart iPhone SE or Earlier: Hold down the Top button of the iPhone until the power off slider displays. To switch off the device, move the slider to the right and then give it a few moments to rest. To switch on the device, press and hold the Top button.
Method 4. Use the most reliable iOS problem solving tool - TunesKit iOS System Recovery
TunesKit iOS System Recovery remains the one of the best iOS problem solving tools that empowers you to rip apart the 150+ iOS bugs quickly. Although, the deep repair of the TunesKit iOS System Recovery will eliminate the major iOS issues it is destined to cause the data loss.
On the other hand, TunesKit iOS System Recovery's standard repair will not cause any data loss, and it has got the credentials to fix most iOS bugs. With the professional features and advanced technology, TunesKit iOS System Recovery brings in the highest success rate. In additon, TunesKit iOS System Recovery will help you downgrade from iOS 18 to iOS 17, upgrade to the latest iOS 18, reset your iPhone to factory settings, enter or exit the recovery mode for free, etc.
Key Functions of TunesKit iOS System Recovery
- Fix iOS 18 eye tracking not working without data loss
- Repair iOS 18 issues like stuck on preparing update
- Downgrade iOS 18 to iOS 17 without losing data
- Enter or exit recovery mode for free
- Fix all kinds of iOS issues in minutes
Here's the step by step guide to restore iOS device through the TunesKit iOS System Recovery.
Step 1Download TunesKit iOS System Recovery
Install the TunesKit iOS System on the PC and then connect the mobile to the computer. Choose iOS System Repair mode in the main interface and then click the Start button to proceed.

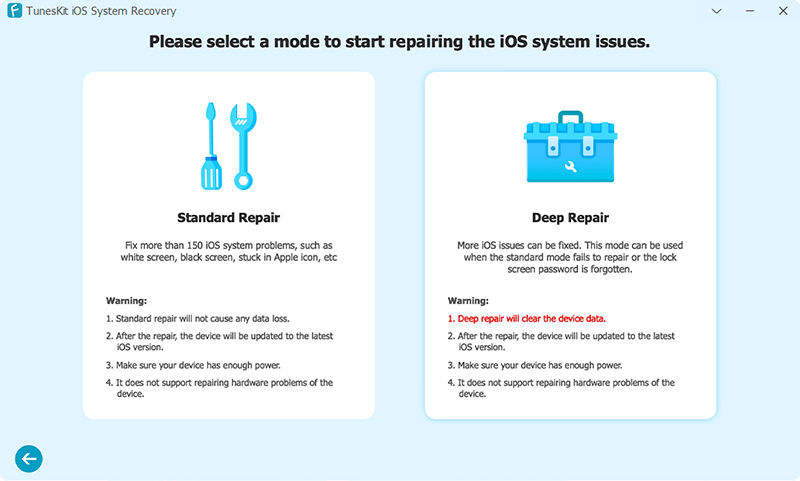
Step 2Choose standard repair mode
Select the Standard Repair option since it won't result in the loss of crucial data. It is also possible to choose the Deep Repair mode, although doing so would result in data loss.
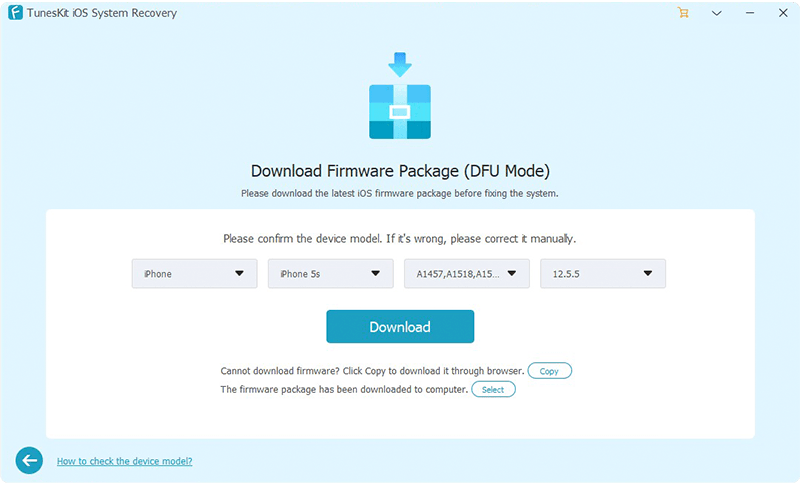
Step 3Download and verify firmare package
Click the Download button to start the firmware package download after verifying the device's details and all on the screen.
Step 4Fix iOS system issue
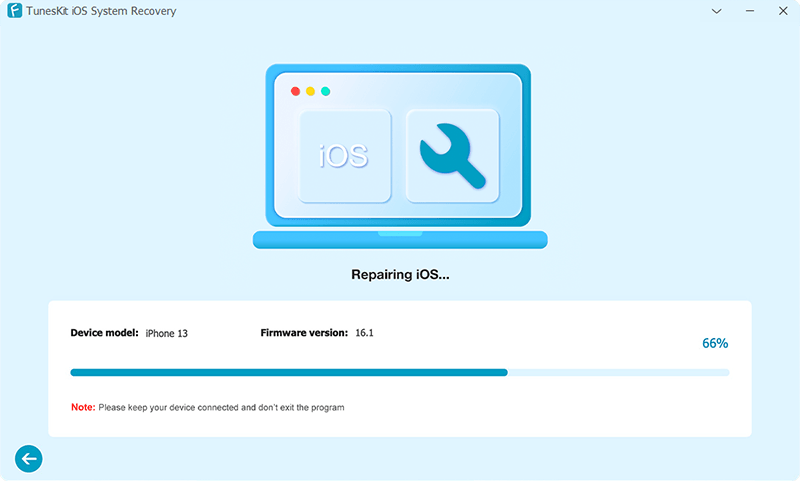
Hit the Repair button, and doing so will assist you to fix the annoying causing the whole chaos, provided you've got a stable internet connection.
Part 4. FAQs related to iOS 18 Genmoji
Here are some hot questions about Genmoji on iOS 18. Plus, we give a quick answer to each question. I hope you can quickly get what you want.
Q1. Will genmoji be on iPhone 13?
Genmoji is only limited on the iPhone 15 and iPhone Pro Max, which makes it clear that accessing the Genmoji on the iPhone 13 isn't a possibility.
Q2. How to produce the Genmoji on iOS 18?
To produce the Genmoji, you'll need to launch the Messages app and select the Amimoji icon afterward. Tap on the Create Genmoji and then follow the on screen instructions to create and customize the various parameters of the Genmoji.
Q3. Is Genmoji integrated with third party app?
Yes! Genmoji iOS 18 is compatible with the third party apps that are compatible with the emoji integration and sticker. After creating the Genmoji and adding it to the emoji keyboard, you can make it across different apps like Instagram, Facebook Messenger, and WhatsApp.
Part 5. The bottom line
After hearing about Genmoji every iOS user wants to learn how to use Genmoji iOS 18, and this post has got you covered. We have listed the detailed guide of Genmoji iOS 18 and how it works on the iOS devices. If the Genmoji iOS 18 isn't working on the iPhone, you can rely upon the methods listed in this guide to fix the issue, with TunesKit iOS System Recovery being the best tool to fix the issue. It prompts the highest success rate without causing the data loss.
